How to Update Node.js Versions on Windows

Updating Node.js on Windows can be as simple as installing a new version—but a safe Node.js upgrade is more than changing the number returned by node -v.
🎥 Prefer to watch the tutorial? Watch the full video on YouTube →
A new major version can change the V8 engine, npm, OpenSSL, runtime APIs, native addon compatibility, dependency requirements, and application behavior.
In this guide, we'll show you the best ways to update Node.js on Windows, how to choose the right version, and what to check before moving an application to a newer runtime.
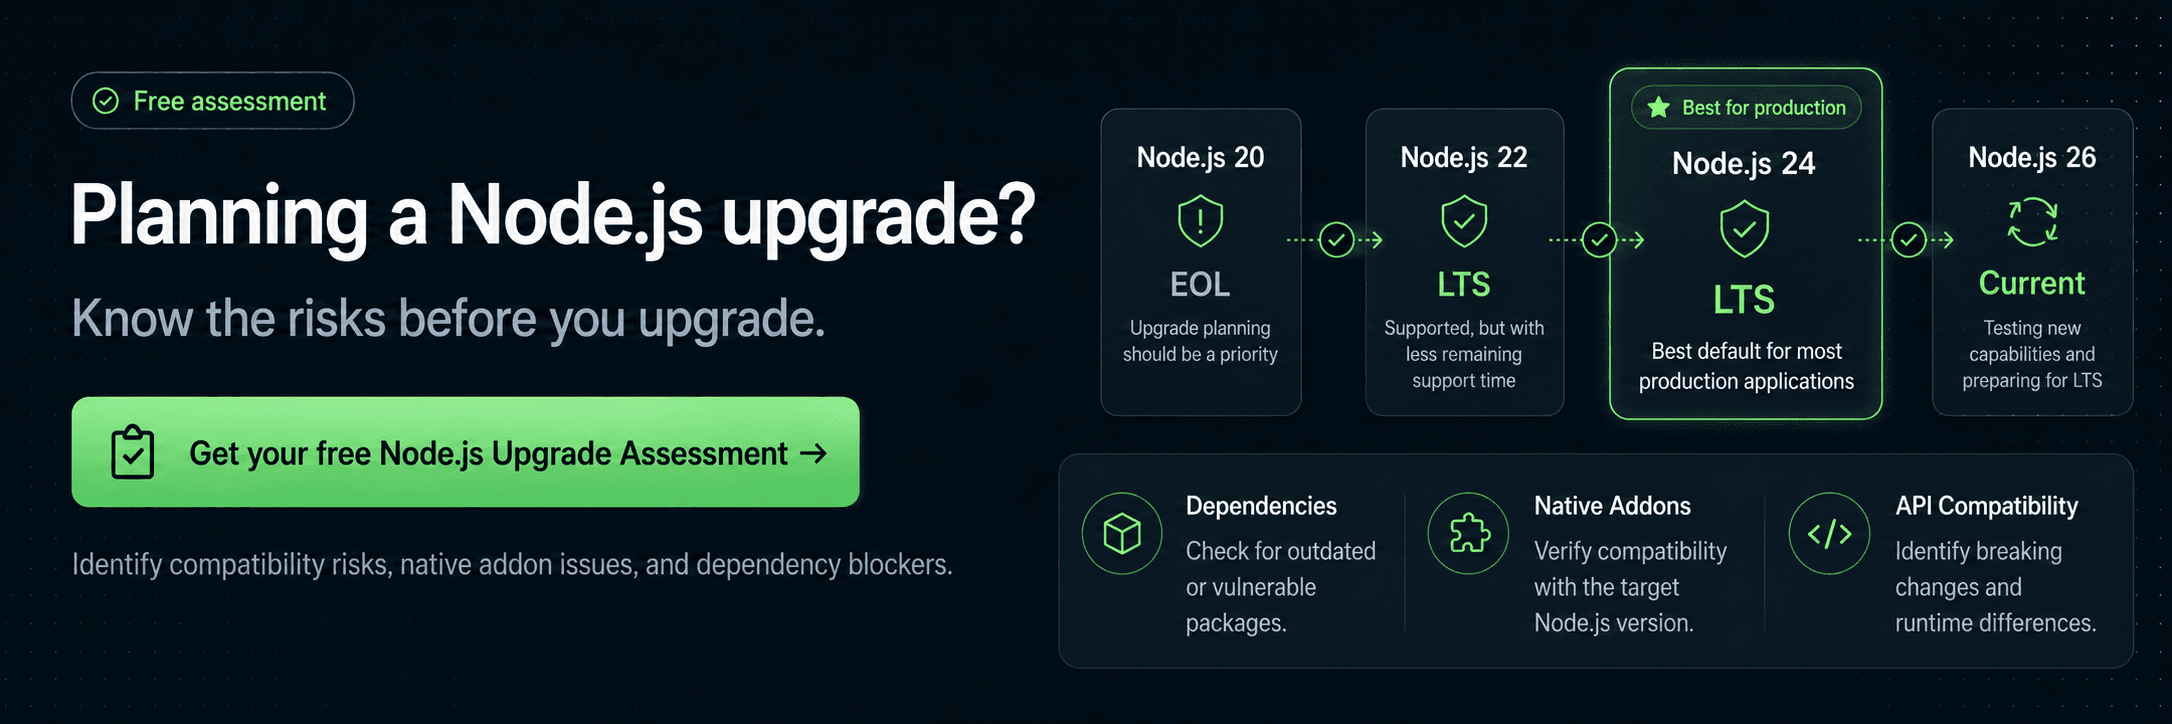
Get your free Node.js Upgrade Assessment →
Before you upgrade, check your application
Run NodeSource's free Upgrade Discovery CLI:
npx @nodesource/upgrade
It analyzes your dependencies, native C/C++ addons, and static Node.js API usage locally to help identify potential upgrade blockers before you change the runtime.
Using another operating system?
Looking for instructions for macOS? Click here. Need help with Linux? Click here.
First: Which Node.js Version Should You Install?
Before updating anything, it helps to understand that the latest Node.js version is not always the version you should use in production.
As of August 2026, the official Node.js releases page lists:
| Release | Status | When to use it |
|---|---|---|
| Node.js 24 | LTS | Best default for most production applications |
| Node.js 26 | Current | Testing new capabilities and preparing for its LTS promotion |
| Node.js 22 | LTS | Supported, but with less remaining support time |
| Node.js 20 and earlier | EOL | Upgrade planning should be a priority |
At the time of this update, the latest releases are Node.js 24.19.0 LTS and Node.js 26.7.0 Current. Always check nodejs.org before installing, since patch releases change frequently.
For production applications, the Node.js project recommends using an Active LTS or Maintenance LTS release.
If your application is still running Node.js 20 or an older release, upgrading becomes more important: End-of-Life versions no longer receive community security fixes.
We cover those risks in much more detail here:
Node.js Versions Explained: Why Running an Outdated Release Is a Business Risk
Prefer a quick video explanation?
- LTS vs Current — What's the Difference in Node.js?
- How Many Node.js Versions Exist? LTS, Current & Release Cycle Explained
One important release-cycle change
Node.js 26 is also the last release under the historical even/odd release model.
Starting with Node.js 27, Node.js is moving to one major release per year, and every major version is expected to progress toward LTS after its Current phase.
You can follow the official Node.js release schedule for the latest lifecycle information.
Before you start: Check What You Are Running
Open PowerShell or Command Prompt and run:
node -v
npm -v
You can also check which Node.js executable Windows is actually using:
where node
This is useful when you have installed Node.js using more than one method and suspect a PATH conflict.
If this is an existing application, also check whether the project declares a Node.js requirement in package.json:
{
  "engines": {
    "node": ">=24"
  }
}
And before changing your runtime, make sure your work is committed so you can easily compare or revert changes.
The Best Ways to Update Node.js on Windows
There is no single installation method that works best for everyone.
A simple rule is:
| Method | Best for |
|---|---|
| nvm-windows | Developers working across multiple Node.js versions |
| Node.js Installer | Simple setups using one version |
| Winget | Windows users who prefer package management |
| Chocolatey | Teams already managing software through Chocolatey |
For most developers, using a version manager is the most flexible option.
npm's own documentation also strongly recommends installing Node.js and npm through a Node version manager when possible.
Method 1: Update Node.js with nvm-windows
If you work on several Node.js projects, this is usually the most useful approach.
nvm-windows lets you install multiple Node.js versions and switch between them without repeatedly uninstalling and reinstalling Node.
Important: nvm-windows is not the same as nvm
The popular nvm project used on macOS and Linux and nvm-windows are separate projects with different commands and behavior.
For Windows, use the official nvm-windows repository.
Before installing nvm-windows
If Node.js was previously installed using the MSI installer, the nvm-windows project recommends removing that installation first.
This helps prevent conflicts around:
C:\Program Files\nodejs
and the Windows PATH.
If you rely on globally installed npm packages, you may also want to check them before removing the existing installation:
npm list -g --depth=0
Then install nvm-windows from its GitHub Releases page.
After installation, open a new PowerShell or Command Prompt window and verify:
nvm version
Install the latest LTS version
For most development and production use cases:
nvm install lts
nvm use lts
Verify:
node -v
npm -v
Install the Current version
If you want to test against the newest Node.js release:
nvm install latest
nvm use latest
Install a specific version
You can also install an exact release:
nvm install 24.19.0
nvm use 24.19.0
To see your installed versions:
nvm list
And to see available releases:
nvm list available
This makes it easy to test your application against the old and new runtime before committing to an upgrade.
Method 2: Use the Official Node.js Windows Installer
If you only need one Node.js version and don't expect to switch frequently, the official installer is the simplest approach.
Go to the official Node.js download page.
Choose the release you need—typically LTS for production applications—and download the Windows .msi installer.
Run the installer and follow the setup wizard.
When it finishes, close and reopen PowerShell or Command Prompt and verify:
node -v
npm -v
The installer is convenient, but once you regularly maintain projects requiring different Node.js versions, a version manager becomes much easier to work with.
Method 3: Update Node.js with Winget
If you prefer Windows Package Manager, Winget can also manage your Node.js installation.
For the LTS package:
winget upgrade --id OpenJS.NodeJS.LTS -e
If it is not installed yet:
winget install --id OpenJS.NodeJS.LTS -e
The OpenJS.NodeJS package is used for the Current release line.
After upgrading:
node -v
npm -v
Using the explicit .LTS package helps avoid accidentally moving a production development environment from LTS to Current.
Method 4: Update Node.js with Chocolatey
If your organization already uses Chocolatey, you can update Node.js through it as well.
For LTS:
choco upgrade nodejs-lts -y
For Current:
choco upgrade nodejs -y
Then verify:
node -v
npm -v
Again, pay attention to the package name: nodejs-lts and nodejs do not necessarily represent the same release line.
What About npm?
Node.js distributions include npm, so switching or updating Node.js will generally also give you the npm version bundled with that release.
Check it with:
npm -v
If you have a specific reason to upgrade npm independently, npm documents:
npm install -g npm
But don't automatically assume that every application needs the newest npm release.
Your Node.js version, npm version, lockfile format, build environment, and CI pipeline should remain compatible with each other.
When using nvm-windows, switching Node.js versions may also change the npm version associated with the active Node.js installation.
For more details, see the official npm installation documentation.
Don't Stop at node -v: Test the Application
Seeing the new version number only proves that Windows is running a different executable.
It does not prove that your application is ready for the new runtime.
For an existing project, reinstall dependencies in a clean environment:
npm ci
Then run your application's normal validation process:
npm test
npm run build
You should also test the application itself, especially the paths that depend on networking, cryptography, filesystem behavior, worker threads, or native modules.
For major upgrades, pay particular attention to:
Dependencies. Packages may declare newer Node.js requirements or stop supporting old runtime versions.
Deprecated APIs. Code that still works today may rely on an API scheduled for removal.
Native addons. Packages built through node-gyp, direct V8 APIs, or other native interfaces can require recompilation or code changes.
Performance. A new V8 or runtime version can change memory usage, garbage collection, throughput, or latency even when all your tests pass.
CI and production. Your laptop, Docker image, CI pipeline, serverless platform, and production runtime should not silently end up running different Node.js majors.
If you're moving across several major versions, this validation matters far more than the installation command itself.
Upgrading from an EOL Node.js Version?
If you're running Node.js 20 or an older version in 2026, the upgrade deserves more planning.
An EOL runtime doesn't immediately stop working. Instead, it stops receiving community updates—including security patches—while the ecosystem around it continues moving forward.
That can eventually create problems with dependencies, operating systems, build tooling, hosting platforms, security requirements, and native modules.
The Node.js project maintains an official EOL page explaining what happens when a release becomes unsupported.
For a deeper technical explanation, read:
Node.js Versions Explained: Why Running an Outdated Release Is a Business Risk
And before starting a migration, you can inspect your application with:
npx @nodesource/upgrade
The NodeSource Node.js Upgrade Program, developed as part of the OpenJS Foundation's LTS Upgrade & Modernization initiative, can help identify migration blockers and build a modernization plan before they become production problems.
Which Method Should You Choose?
If you're a developer maintaining multiple Node.js projects, start with nvm-windows.
If you simply need Node.js installed on a Windows machine and expect to use one release line, the official installer is perfectly reasonable.
If your machine or organization already manages software through Winget or Chocolatey, those tools can provide a convenient update path—just make sure you know whether you're installing LTS or Current.
But remember:
Installing a new Node.js version is the easy part. Making sure your application is actually ready for it is the important part.
Check your version, understand its lifecycle, identify your application's compatibility risks, test under the target runtime, and then roll the upgrade forward with confidence.