How to Update Node.js Versions on MacOS

Updating Node.js on macOS can be as simple as installing a new version—but a safe Node.js upgrade is more than changing the number returned by node -v.
A new major version can change the V8 engine, npm, OpenSSL, runtime APIs, native addon compatibility, dependency requirements, and application behavior.
In this guide, we'll show you the best ways to update Node.js on macOS, how to choose the right version, and what to check before moving an application to a newer runtime.
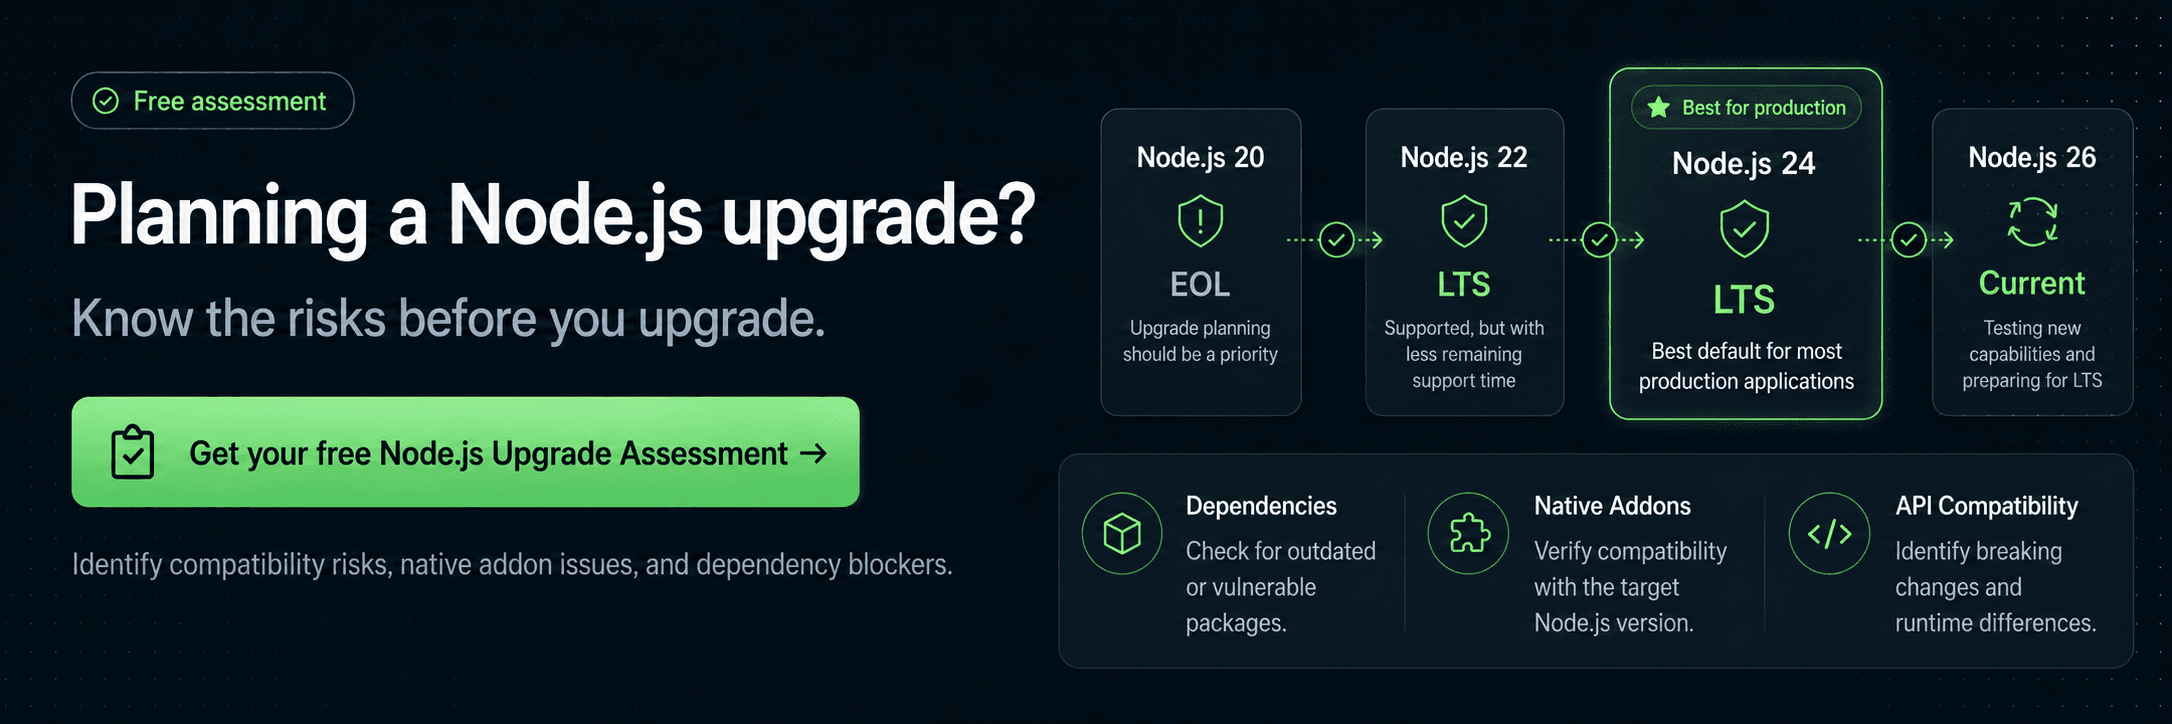
Get your free Node.js Upgrade Assessment →
Before you upgrade, check your application
Run NodeSource's free Upgrade Discovery CLI:
npx @nodesource/upgrade
It analyzes your dependencies, native C/C++ addons, and static Node.js API usage locally to help identify potential upgrade blockers before you change the runtime.
Using another operating system?
Looking for instructions for Linux? Click here. Need help with Windows? Click here.
First: Which Node.js Version Should You Install?
Before updating anything, it helps to understand that the latest Node.js version is not always the version you should use in production.
As of August 2026, the official Node.js releases page lists:
| Release | Status | When to use it |
|---|---|---|
| Node.js 24 | Active LTS | Best default for most production applications |
| Node.js 26 | Current | Testing new capabilities and preparing for its LTS promotion |
| Node.js 22 | Maintenance LTS | Still supported, but with less remaining support time |
| Node.js 20 and earlier | EOL | Upgrade planning should be a priority |
At the time of this update, the latest releases are Node.js 24.19.0 LTS and Node.js 26.7.0 Current. Always check nodejs.org before installing, since patch releases change frequently.
For production applications, the Node.js project recommends using an Active LTS or Maintenance LTS release.
If your application is still running Node.js 20 or an older release, upgrading becomes more important: End-of-Life versions no longer receive community security fixes.
We cover those risks in much more detail here:
Node.js Versions Explained: Why Running an Outdated Release Is a Business Risk
Prefer a quick video explanation?
- LTS vs Current — What's the Difference in Node.js?
- How Many Node.js Versions Exist? LTS, Current & Release Cycle Explained
One important release-cycle change
Node.js 26 is also the last release under the historical even/odd release model.
Starting with Node.js 27, Node.js is moving to one major release per year, and every major version is expected to progress toward LTS after its Current phase.
You can follow the official Node.js release schedule for the latest lifecycle information.
Before You Start: Check What You Are Running
Open Terminal and run:
node -v
npm -v
You can also check which Node.js executable macOS is actually using:
command -v node
This is useful when you have installed Node.js using more than one method—for example, Homebrew and nvm—and suspect a PATH conflict.
If you want to see every Node.js executable available through your current PATH, run:
which -a node
If this is an existing application, also check whether the project defines a Node.js version in an .nvmrc file:
cat .nvmrc
You may also find a Node.js requirement in package.json:
{
  "engines": {
    "node": ">=24"
  }
}
And before changing your runtime, make sure your work is committed so you can easily compare or revert changes.
The important distinction is this:
Updating Node.js on your Mac and upgrading the Node.js version used by your application are related, but they are not necessarily the same thing.
Your local installation may be ready for Node.js 24 or 26 while your application's dependencies, CI pipeline, Docker images, or production environment still expect an older version.
The Best Ways to Update Node.js on macOS
There is no single installation method that works best for everyone.
A simple rule is:
| Method | Best for |
|---|---|
| nvm | Developers working across multiple Node.js versions |
| Homebrew | macOS users who already manage development tools with Homebrew |
| n | Developers who prefer a lightweight Node.js version manager |
| Node.js Installer | Simple setups using one Node.js version |
For most developers, using a version manager is the most flexible option.
npm's own documentation also strongly recommends installing Node.js and npm through a Node version manager when possible.
Method 1: Update Node.js Using nvm — Recommended
nvm lets you install and switch between multiple Node.js versions without replacing your entire system installation.
This is particularly useful if you maintain several applications that require different Node.js versions.
Check Whether nvm Is Installed
Run:
nvm --version
If nvm is installed, you'll see its version number.
If the command is not found, install it by following the instructions in the official nvm repository.
After installing it, restart your terminal.
If necessary, you can also reload your Zsh configuration:
source ~/.zshrc
Then verify the installation again:
nvm --version
Install the Latest LTS Version
For most production development, the easiest option is:
nvm install --lts
Then activate it:
nvm use --lts
Verify the result:
node -v
npm -v
At the time of this update, that means installing the Node.js 24 LTS release line.
Install a Specific Node.js Version
You can also install a particular major version:
nvm install 24
Then switch to it:
nvm use 24
If you maintain an older application that still uses Node.js 22:
nvm install 22
Then switch when needed:
nvm use 22
And return to Node.js 24 with:
nvm use 24
This is one of the main advantages of a version manager: multiple Node.js versions can coexist on the same machine.
Set a Default Node.js Version
To use Node.js 24 by default when opening a new terminal:
nvm alias default 24
Or use the latest LTS release automatically:
nvm alias default 'lts/*'
Use .nvmrc for Project-Specific Versions
Teams can also define a Node.js version in an .nvmrc file.
For example:
24
Then, inside the project:
nvm use
nvm reads the file and switches to the appropriate version.
If the required version is not installed yet, you can run:
nvm install
This makes it easier to keep development environments consistent across a team.
Method 2: Update Node.js Using Homebrew
If you originally installed Node.js through Homebrew, continuing to manage it with Homebrew can be convenient.
First, update Homebrew:
brew update
Check which Node.js formulas are installed:
brew list | grep node
If you're using Homebrew's standard node formula, update it with:
brew upgrade node
Then verify:
node -v
npm -v
Be Careful: brew install node Tracks Current
This is important.
Running:
brew install node
installs Homebrew's unversioned node formula, which tracks the Current Node.js release line.
At the time of this update, that means Node.js 26—not Node.js 24 LTS.
If you specifically want Node.js 24 through Homebrew, use:
brew install node@24
However, versioned Homebrew formulas such as node@24 may be installed as keg-only.
That means Homebrew may not automatically add that version to the default PATH.
After installation, Homebrew will display the configuration instructions required for your system.
If you frequently switch between Node.js versions, using nvm is usually simpler than managing multiple versioned Homebrew formulas.
Method 3: Update Node.js Using n
n is another lightweight Node.js version manager.
If npm is already installed, you can install n globally:
npm install -g n
To install the latest LTS release:
n lts
To install the latest Current release:
n latest
Or install a specific major version:
n 24
Then verify:
node -v
npm -v
Depending on how your system permissions are configured, n may encounter permission errors when writing to its Node.js installation directory.
Avoid automatically adding sudo to every npm or Node.js command.
Instead, check the n documentation for its recommended installation and permissions options.
Method 4: Use the Official Node.js macOS Installer
If you do not want to use a version manager or package manager, you can install Node.js directly from the official website.
Go to the Node.js download page and select the macOS installer.
For most production development, choose the LTS release.
Download the installer and follow the installation steps.
When the installation finishes, open a new terminal and run:
node -v
npm -v
This approach works well for simple environments where you only need one Node.js version.
However, developers maintaining multiple applications will generally find a version manager such as nvm more flexible.
Verify the Node.js Upgrade
Regardless of which installation method you use, don't stop after the installer or package manager reports success.
Run:
node -v
npm -v
command -v node
You can also inspect the runtime directly:
node -p "process.version"
node -p "process.execPath"
The first command shows the active Node.js version.
The second shows exactly which Node.js executable is running.
This is useful when your Mac has had multiple Node.js installations over time.
For example, you may have:
- An old Node.js installer installation
- A Homebrew installation
- An nvm installation
- A version installed through n
If node -v still shows an unexpected version after upgrading, the problem may be your PATH, not the installation itself.
Test Your Application After Updating Node.js
Successfully installing a newer Node.js version does not mean your application is automatically ready for it.
Open your project and install its dependencies:
npm install
Then run your application's usual checks.
For example:
npm test
Build the application if applicable:
npm run build
And start the development environment:
npm run dev
For production applications, you should also test:
- Integration tests
- End-to-end tests
- Build tooling
- Native addons
- Database drivers
- Deployment scripts
- Docker images
- CI/CD pipelines
- Monitoring and observability tooling
Moving across Node.js major versions can expose compatibility issues involving:
- Deprecated or removed Node.js APIs
- V8 changes
- Native C/C++ addons
- npm changes
- OpenSSL and cryptography
- Framework requirements
- Unsupported dependencies
- Build tools
- Runtime behavior
This is why installing a new Node.js version and migrating an application to that version should be treated as two separate steps.
Troubleshooting: Node.js Still Shows the Old Version
Suppose you upgrade Node.js, but this command still returns the previous version:
node -v
First, check where Node.js is coming from:
command -v node
Then check whether multiple executables are available:
which -a node
You might discover something like:
/Users/yourname/.nvm/versions/node/v24.x.x/bin/node
/opt/homebrew/bin/node
/usr/local/bin/node
That means multiple Node.js installations exist on your machine.
If you're using nvm, check the active version:
nvm current
Then switch explicitly:
nvm use 24
You can also inspect the executable Node.js is actually running:
node -p "process.execPath"
If you've recently changed your shell configuration, restarting Terminal may also be necessary.
The important thing is to identify the active installation before reinstalling Node.js again.
Adding more Node.js installations usually makes PATH problems harder to diagnose.
Should You Always Upgrade to the Latest Node.js Version?
No.
The newest Node.js version is not automatically the best version for every application.
For experimentation and testing upcoming runtime capabilities, the Current release can be useful.
For production applications, an LTS release is generally the safer default.
Before upgrading, ask:
- Is my current Node.js version still supported?
- Which Node.js version does my application support?
- Are my dependencies compatible with the target version?
- Does the application rely on native addons?
- Does my framework support the new Node.js version?
- Are CI/CD and production environments ready for the same runtime?
- Are my Docker images and deployment configurations using the same version?
If you're running Node.js 20 or an older release, the situation is more urgent.
Those releases are End-of-Life and no longer receive normal community security fixes from the Node.js project.
For a deeper explanation of Node.js release statuses and the risks associated with unsupported versions, read:
Node.js Versions Explained: Why Running an Outdated Release Is a Business Risk
Find Out What Is Blocking Your Node.js Upgrade
For a small local application, moving to a newer Node.js version may take only a few commands.
For production systems, the difficult part usually isn't installing Node.js.
It's understanding what might break after you change it.
Before starting a migration, run NodeSource's free Upgrade Discovery CLI:
npx @nodesource/upgrade
The assessment analyzes areas such as:
- Application dependencies
- Native C/C++ addons
- Static Node.js API usage
- Potential compatibility issues
- Possible migration blockers
This gives your team a clearer picture of the work involved before changing the runtime.
Get your free Node.js Upgrade Assessment →
Final Thoughts
Updating Node.js on macOS is straightforward once you understand how Node.js is installed and which version your application actually needs.
For most developers, nvm is the most flexible option because it makes it easy to install, manage, and switch between multiple Node.js versions.
Homebrew is convenient if your development environment already relies heavily on Homebrew, while n offers another lightweight version-management option. The official macOS installer remains useful for simpler setups that only require one runtime version.
But remember: updating Node.js locally is only the beginning of an application upgrade.
Before moving a production workload to a new major version, verify your dependencies, native addons, tests, build tooling, CI/CD pipelines, containers, and deployment environment.
And if you're still running an unsupported Node.js release, it's better to understand the blockers before security issues or dependency changes force the migration.