Scalable Node.js with Kubernetes and Google Kubernetes Engine
Introduction
This article is a fine-grained, one-stop-shop styled walkthrough of what it takes to deploy a containerized Node.js application on a scalable, cloud-based Kubernetes (K8s) cluster with Google’s Kubernetes Engine (GKE).
It assumes basic familiarity with Docker and Kubernetes. If you are interested in an overview of either of these technologies before continuing, please see our previous articles on containerizing Node.js and orchestrating Node.js containers with Kubernetes.
This article will walk you through:
-
Getting setup with GCP and GKE,
gcloud, andkubectl -
Creating a K8s cluster two ways: the GKE web UI and
glcoud -
Interacting with your K8s cluster
-
Deploying a sample containerized Node.js application to your new cluster
-
Interacting with your clustered, containerized Node.js application
Setup Your Environment
Clone the Repo
Clone the repository to get a barebones Node.js application complete with:
- Simple Node.js server
- Dockerfile
- YAML config file for a Kubernetes Deployment and Service
git clone https://github.com/nodesource/simple-nodejs-k8s
Docker and DockerHUb
Verify that you have Docker installed locally:
docker --version
If you find that Docker is not installed, you can find instructions on installing Docker here.
If you haven’t already, create a DockerHub account. You will need your login credentials later on in the tutorial.
Google Cloud Platform
While Kubernetes is supported by all of the major cloud providers, this article will focus specifically on using it with GCP and its Kubernetes Engine.
If you do not have a GCP account, you can signup for a free trial here.
Create a GCP Project
Projects form the basis of an organization’s interactions with GCP.
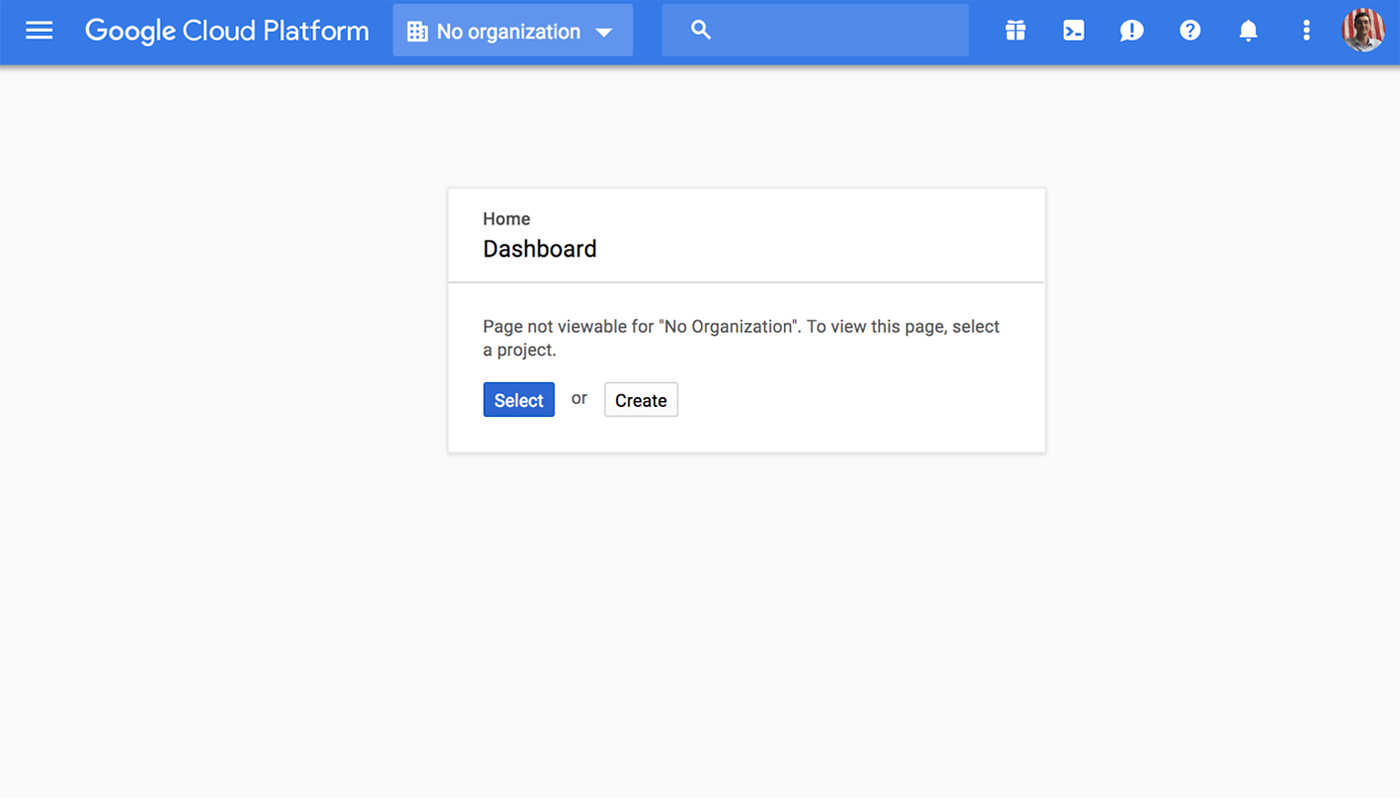
If you just set up your GCP account and see the Dashboard modal in the above photo, follow the modal’s prompts through a workflow to either select or create a project, which will in turn require you to either select or create an organization.
Enable Billing
Follow these instructions to enable billing on GCP if it is not already setup.
Install gcloud
gcloud is the command line utility for GCP.
First, check if you have gcloud installed:
gcloud --version
If you need it installed, you can use this script on macOS or Linux systems:
curl https://sdk.cloud.google.com | bash
This install with take you through a few prompts, answer as you see appropriate.
Start a new shell for the changes to your rc file to take effect:
exec -l $SHELL
Confirm install:
gcloud --version
If you are installing
gcloudon Windows, you can follow these instructions.
Install kubectl with gcloud
We will use the Google Cloud SDK to install kubectl, a command line interface for running commands against Kubernetes clusters:
gcloud components install kubectl
Confirm install:
kubectl
If kubectl is not recognized, add Google Cloud SDK bin to your $PATH:
export PATH=/Users/user/google-cloud-sdk/bin/:$PATH
Let's make sure that the SDK's components are up to date before moving forward, passing the --quiet flag to diable interactive prompts:
gcloud --quiet components update
Setup glcoud defaults
Login to Google Cloud SDK:
gcloud auth login
This command will redirect to Google Auth in your browser, ask for privileges, and redirect to an authentication confirmation page with additional resources made available if you need them.
A Kubernetes cluster is deployed to a single zone. You can learn more about zones and how to choose the right one here.
To view a list of available zones, run:
gcloud compute zones list
Once logged in, set the project and compute/zone in the gcloud config. Use your GCP project ID and assign a zone:
gcloud config set project [PROJECT_ID]
gcloud config set compute/zone [ZONE]
Create a Kubernetes Cluster on GKE
Clusters can be instantiated via the CLI or the web UI.
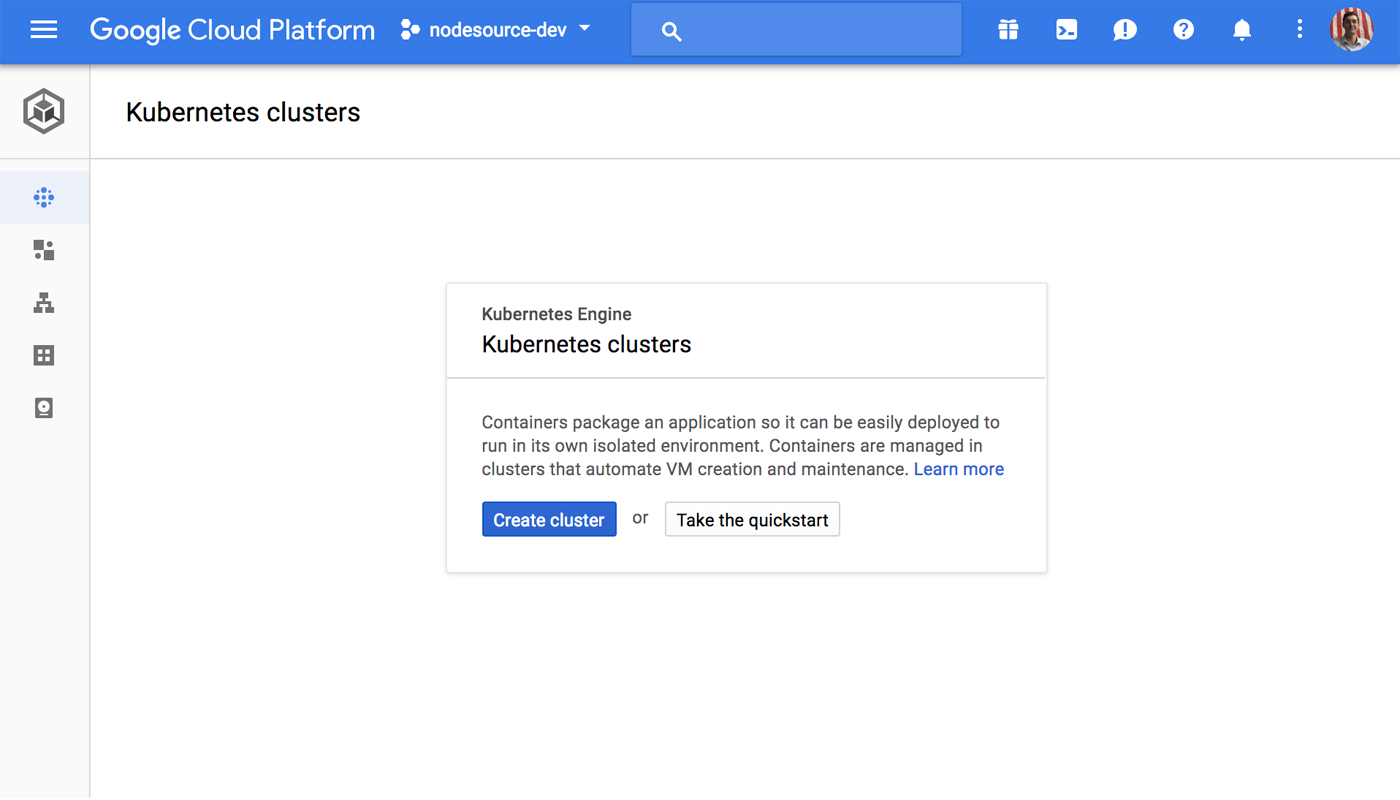
Create a Cluster with GKE Web UI
From your Google Cloud Console, navigate to the Kubernetes Engine in the top-left hamburger menu and select Kubernetes Clusters. Select Create cluster.
You will be asked to provide some metadata and configuration information about the cluster. Details like resource provisioning, versioning, authentication, container scope, networking and more can be set here. With a few exceptions, the default settings are sufficient for this demo. That being said, I would personalize the Name field, and change the Zone to something geographically close to traffic (for example, being in San Francisco, I am using the us-west1-b zone).
Select More at the bottom of the form to see Advanced Options, where you will see a field for Basic Authentication. I recommend configuring it to Disabled. This will enforce use of client certificates and/or IAM, improving security when connecting to Kubernetes.
Once configurations have been set, select the Create button at the bottom of the page. It will take GKE anywhere from a few moments to a few minutes to instantiate the cluster.
Create a Cluster with gcloud
Kubernetes cluster configuration and creation can be completed through gcloud as well. In this case, we will be creating a container cluster with a [CLUSTER_NAME] of your choosing, and configuration options will be passed in as flags.
gcloud container clusters create [CLUSTER_NAME]\
--no-enable-basic-auth \
--num-nodes 3 \
--machine-type n1-standard-1 \
--disk-size 80 \
--max-nodes 3 \
--enable-cloud-logging \
--enable-cloud-monitoring \
--enable-autoscaling \
--scopes "https://www.googleapis.com/auth/devstorage.read_write"
You can pass as many configuration flags as you would like when instantiating clusters from the command line, but the above are sufficient for this exercise. For a full list of flag options and their details, please see the documentation.
Connect gcloud and kubectl
To connect gcloud and kubectl, you must first share your cluster credentials with kubectl:
gcloud container clusters get-credentials [CLUSTER_NAME] --zone [ZONE] --project [PROJECT_ID]
If you want to minimize the chance of human error, GKE provides this command via the Connect button in the clusters console with all fields pre-filled.

Interact with Your Cluster
Let’s run the following command to get some information about our cluster now that it has been instantiated:
kubectl cluster-info
cluster-info will display the addresses of the Kubernetes Master and Services associated with your cluster.
The master URL will provide you with a list of resources like the Kubernetes dashboard, swagger, logs, metrics, health, and API resources.
Deploy A Sample Node.js App to Your Cluster
With all of that setup out of the way, we can finally turn to the repository.
Once cloned, cd into the sample-app directory. The contents are fairly bare. We have a couple ignore files, a Dockerfile, a YAML file, the application’s package.json and a simple Node.js server.
The files are mostly ready to go. In this section we will:
- Build a Docker image using the provided Dockerfile
- Push the newly minted Docker image to DockerHub
- Deploy
sample-appto our Kubernetes cluster - Interact with our Kubernetes-managed
sample-appcontainers
Build the Docker Image
Now we can login to Docker from the command line, build our image, and push it up to DockerHub.
docker login
Username: [DOCKERHUB_USERNAME]
Password: [DOCKERHUB_PASSWORD]
Make sure your current working directory is simple-nodejs-k8s/sample-app and run the following command:
docker build . -t [DOCKERHUB_USERNAME]/sample-app:v1
This will build a Docker image with the name sample-app and the tag :v1 from our Dockerfile.
Push the Docker Image to DockerHub
For Kubernetes to be able to use this image it must be made available. The simplest way to do that is to push it to DockerHub.
docker push [DOCKERHUB_USERNAME]/[IMAGE_NAME][TAG]
For example, to push this sample-app image with tag :v1 to my personal DockerHub account, I would run:
docker push ejoreo/sample-app:v1
If the push is successful, a log of all the individual images associated with this new image will show ‘Pushed’ for each, and this new image’s digest will be provided as well. The digest is a specific image’s unique identifier and is an excellent way to strictly dictate what images are being used in your environment.
Create A Deployment and Service
With all of the supporting services setup and connected, and the application's Docker image pushed to DockerHub, we can use kubectl to create both a Kubernetes Deployment and a load balancer Service for your application.
But first, you need to update a value in sample-app.deployment-service.yml:
Make sure the value for spec:template:spec:containers:image:${dockerHubUsername}/sample-app:v1 is modified to reflect your DockerHub username instead of the placeholder variable.
For example, my personal YAML file looks like this:
apiVersion: extensions/v1beta1
kind: Deployment
metadata:
  name: sample-app
  labels:
    app: sample-app
spec:
  replicas: 1
  template:
    metadata:
      labels:
        app: sample-app
    spec:
      containers:
        - name: sample-app
          image: ejoreo/sample-app:v1 #this is where to make your changes
          env:
            - name: APP_NAME
              value: "sample-app"
            - name: TEST_ME
              value: "Hello, world!"
            - name: PORT
              value: "4444"
          ports:
            - containerPort: 4444
              name: sample-app
---
apiVersion: v1
kind: Service
metadata:
  name: sample-app
spec:
  type: LoadBalancer
  ports:
    - port: 80
      targetPort: sample-app
  selector:
    app: sample-app
To be clear, the value for image: should follow the same format as what was pushed up to DockerHub: [dockerHubUsername]/[imageName][tag].
I have used the --- syntax to chain the YAML files for the Deployment and Service into one file for convenience, but they can just as easily exist in separate files.
To create our our Deployment and Service, let’s run:
kubectl create -f sample-app.deployment-service.yml
Interact with Your Cluster
With a Deployment and Service created, we finally have a basis for interaction with our cluster.
This section will outline some basics for cluster interaction, but the kubectl reference documentation provides much more exhaustive guidance on using kubectl to interact with and manage your Kubernetes environment.
Inspect and manage your cluster
kubectl cluster-info
This command provides you with the addresses for the Kubernetes master node and associated services, such as KubeDNS and kubernetes-dashboard.
Inspect your resources
We can use get all to get a glance at all of our Kubernetes resources:
kubectl get all
We know we have explicitly created one Deployment and a load balancer Service, but when you run the above command, you should also see reference to rs/, po/, and a second service, ClusterIP. rs and po refer to ReplicaSet and Pod respectively, and the ClusterIP service is created by Kubernetes when a cluster is created.
Run and interact with your Node.js application
We will need the Pod Name to execute bash commands in our container. Let’s get the info on our Pod:
kubectl get pods
Now we will use the exec command with the --it flag to access the bash shell in interactive mode:
kubectl exec --it [POD_NAME] -- /bin/bash
If you are confirmed as user root@[POD_NAME], enter the Node.js REPL by entering:
node
Inside the Node.js REPL, enter:
process.env.TEST_ME
If the return value is 'Hello, world!', then congratulations!
You have successfully interacted with a containerized Node.js application deployed to a Kubernetes cluster via Google Kubernetes Engine!
To exit out of the Node.js repl, enter
ctl+C. To exit the container environment, enterexit.
Shutting Down a Cluster
Resources can be individually spun down, but Kubernetes does a good job of consistently working with its YAML files, so you can use kubectl delete -f [FILENAME(S)] to target any of your explicitly-created resources.
In this case, since the load balancing Service and our Deployment configs are grouped, you can delete the single YAML file to spin down all containers, Pods, ReplicaSets, Services, and Deployments that you (or Kubernetes, on your behalf) have created so far:
kubectl delete -f sample-app.deployment-service.yml
If you prefer, there is a trash bin icon next to your cluster in the Kubernetes Engine web UI. Click this icon to delete its respective cluster. Spinning a cluster down can take a few moments.
Conclusion
Thanks for reading along! Let’s take a look at what we covered about using Kubernetes and Google Kubernetes Engine:
- Setting up a Google Cloud Platform account
- Installing Google Cloud SDK and
kubectl - Instantiating clusters via both web UI and
gcloudcommand line tool - Basic
kubectlcommands for managing and inspecting your Kubernetes cluster - Interacting with your clustered, containerized Node.js application
One Last Thing
If you’re interested in managing Node.js Docker containers, you may be interested in N|Solid. We work to make sure Docker and Kubernetes are first-class citizen for enterprise users of Node.js who need insight and assurance for their Node.js deployments.
If you’d like to tune into the world of Node.js, Docker, Kubernetes, and large-scale Node.js deployments, be sure to follow us at @NodeSource on Twitter.