Configuring Your .npmrc for an Optimal Node.js Environment
For Node.js developers, npm is an everyday tool. It's literally something we interact with multiple times on a daily basis, and it's one of the pieces of the ecosystem that's led to the success of Node.js.
One of the most useful, important, and enabling aspects of the npm CLI is that its highly configurable. It provides an enormous amount of configurability that enables everyone from huge enterprises to individual developers to use it effectively.
One part of this high-configurability is the .npmrc file. For a long time I'd seen discussion about it - the most memorable being the time I thought you could change the name of the node_modules directory with it. For a long time, I didn't truly understand just how useful the .npmrc file could be, or how to even use it.
So, today I've collected a few of the optimizations that .npmrc allows that have been awesome for speeding up my personal workflow when scaffolding out Node.js modules and working on applications long-term.
Automating npm init Just a Bit More
When you're creating a new module from scratch, you'll typically start out with the npm init command. One thing that some developers don't know is that you can actually automate this process fairly heftily with a few choice npm config set ... commands that set default values for the npm init prompts.
You can easily set your name, email, URL, license, and initial module version with a few commands:
npm config set init.author.name "Hiro Protagonist"
npm config set init.author.email "hiro@showcrash.io"
npm config set init.author.url "http://hiro.snowcrash.io"
npm config set init.license "MIT"
npm config set init.version "0.0.1"
In the above example, I've set up some defaults for Hiro. This personal information won't change too frequently, so setting up some defaults is helpful and allows you to skip over entering the same information in manually every time.
Additionally, the above commands set up two defaults that are related to your module.
The first default is the initial license that will be automatically suggested by the npm init command. I personally like to default to MIT, and much of the rest of the Node.js ecosystem does the same. That said, you can set this to whatever you'd like - it's a nice optimization to just be able to nearly automatically select your license of choice.
The second default is the initial version. This is actually one that made me happy, as whenever I tried building out a module I never wanted it to start out at version 1.0.0, which is what npm init defaults to. I personally set it to 0.0.1 and then increment the version as I go with the npm version [ major | minor | patch ] command.
Change Your npm Registry
As time moves forward, we're seeing more options for registries arise. For example, you may want to set your registry to a cache of the modules you know you need for your apps. Or, you may be using Certified Modules as a custom npm registry. There's even a separate registry for Yarn, a topic that is both awesome and totally out of scope for this post.
So, if you'd like to set a custom registry, you can run a pretty simple one-line command:
npm config set registry "https://my-custom-registry.registry.nodesource.io/"
In this example, I've set the registry URL to an example of a Certified Modules registry - that said, the exact URL in the command can be replaced with any registry that's compatible. To reset your registry back to the default npm registry, you can simply run the same command pointing to the standard registry:
npm config set registry "https://registry.npmjs.com/"
Changing the console output of npm install with loglevel
When you npm install a bunch of information gets piped to you. By default, the npm command line tool limits how much of this information is actually output into the console when installing. There are varying degrees of output that you can assign at install, or by default, if you change it with npm config in your .npmrc file. The options, from least to most output, are: silent, error, warn, http, info, verbose, and silly.
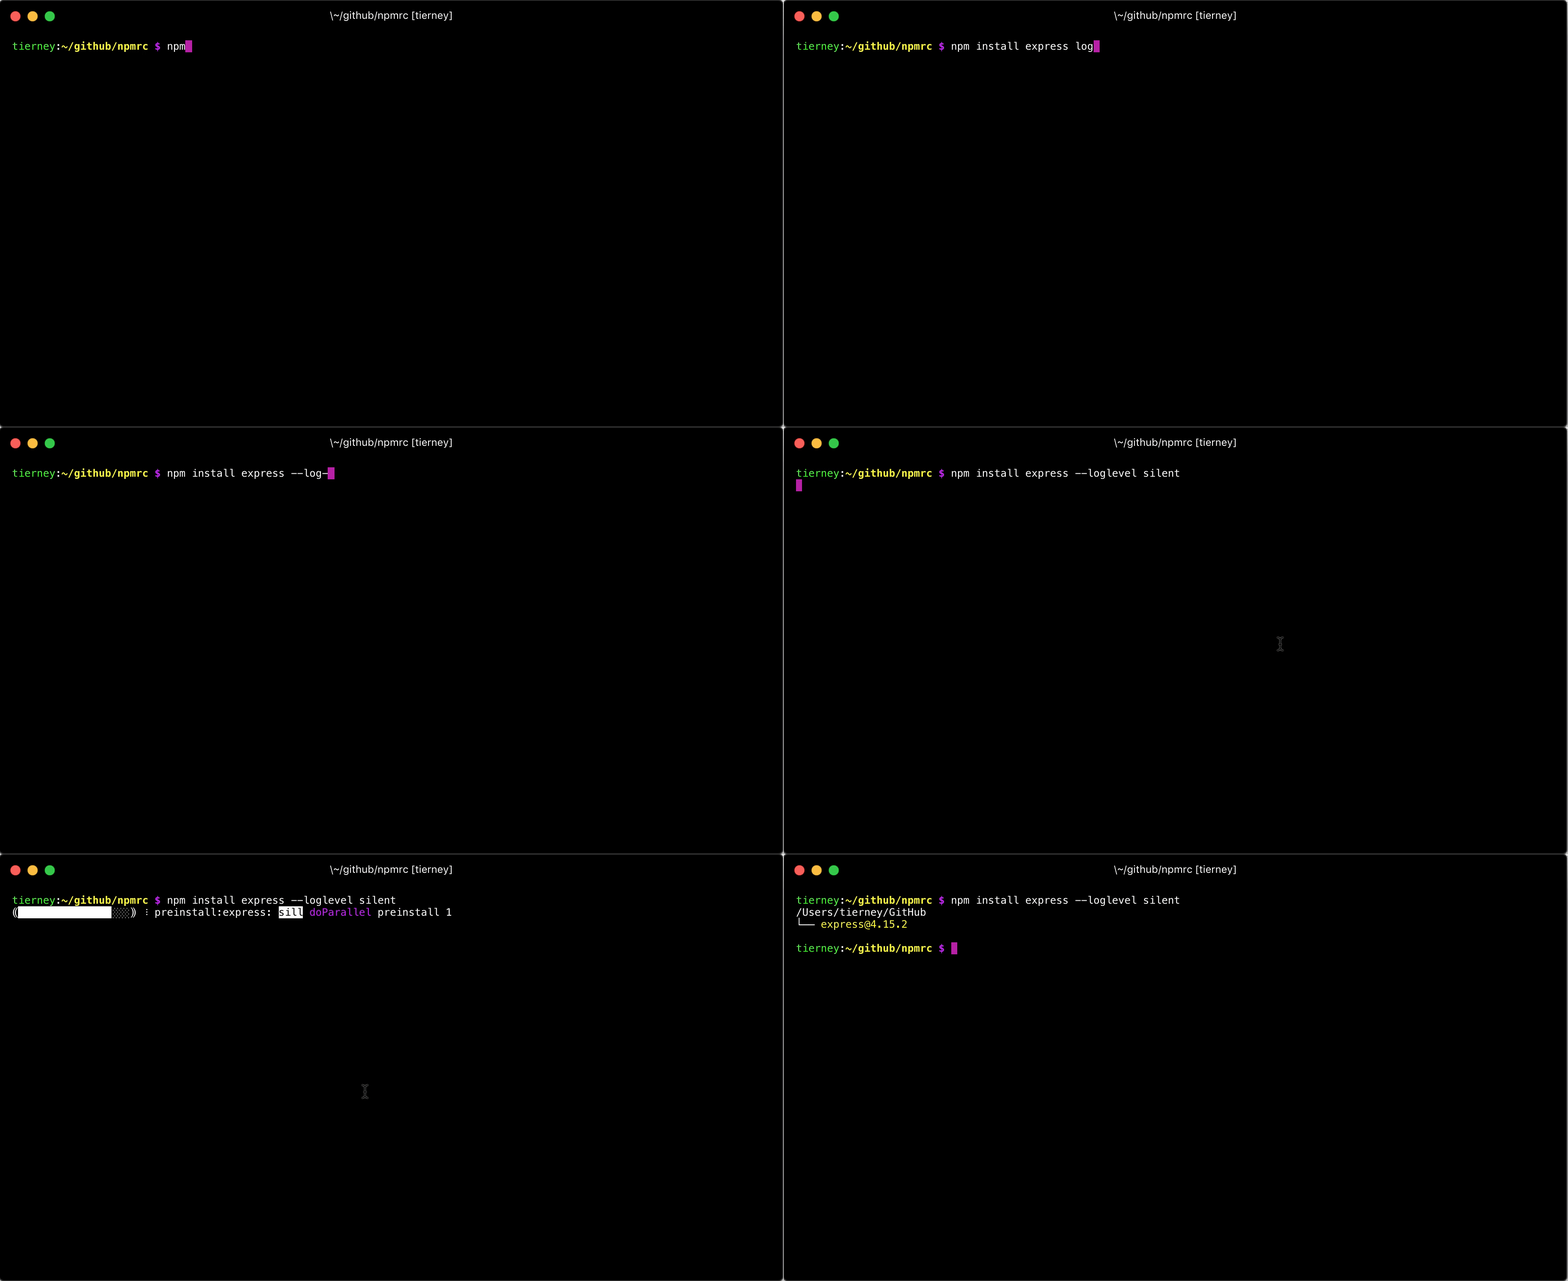
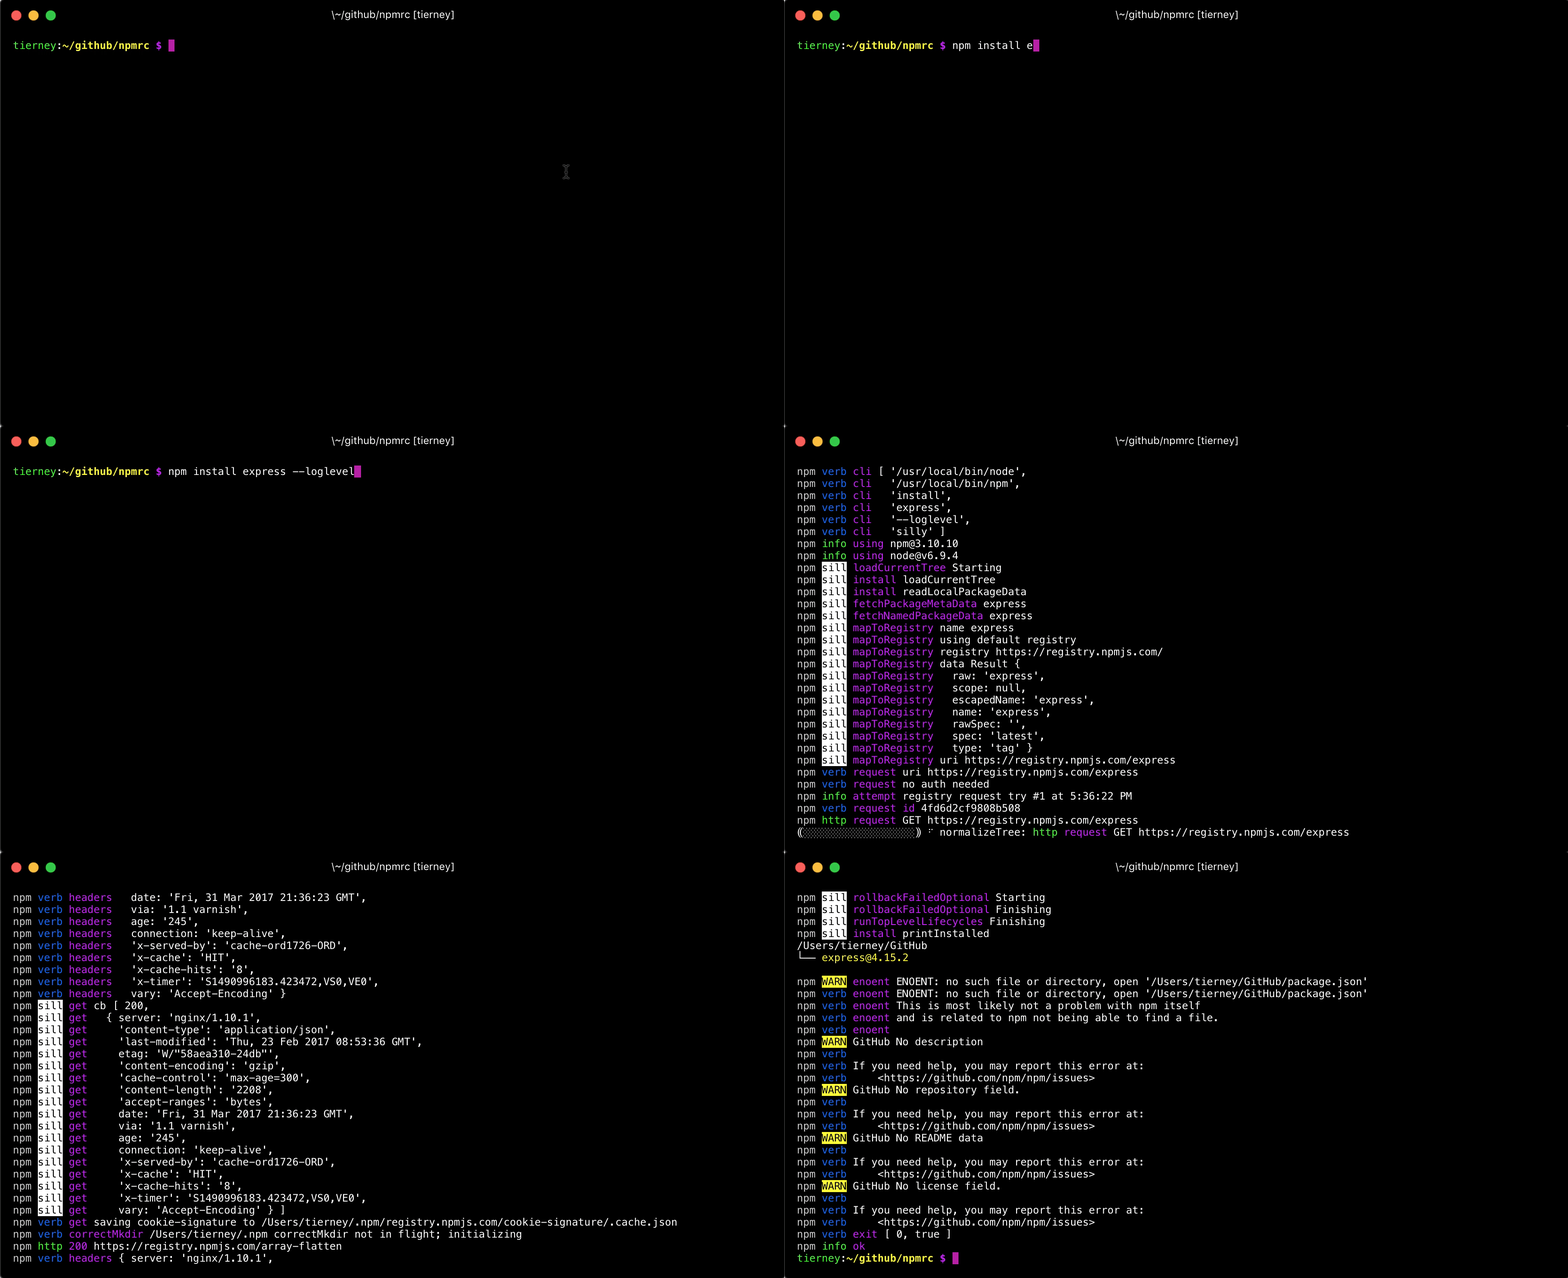
Here's an example of the silent loglevel:

And here's an example of the silly loglevel:

If you'd like to get a bit more information (or a bit less, depending on your preferences) when you npm install, you can change the default loglevel.
npm config set loglevel="http"
If you tinker around with this config a bit and would like to reset to what the npm CLI currently defaults to, you can run the above command with warn as the loglevel:
npm config set loglevel="warn"
Change Where npm Installs Global Modules
This is a really awesome change - it has a few steps, but is really worth it. With a few commands, you can change where the npm CLI installs global modules by default. Normally, it installs them to a privileged system folder - this requires administrative access, meaning that a global install requires sudo access on UNIX-based systems.
If you change the default global prefix for npm to an unprivileged directory, for example, ~/.global-modules, you'll not need to authenticate when you install a global module. That's one benefit - another is that globally installed modules won't be in a system directory, reducing the likelihood of a malicious module (intentionally or not) doing something you didn't want it to on your system.
To get started, we're going to create a new folder called global-modules and set the npm prefix to it:
mkdir ~/.global-modules
npm config set prefix "~/.global-modules"
Next, if you don't already have a file called ~/.profile, create one in your root user directory. Now, add the following line to the ~/.profile file:
export PATH=~/.global-modules/bin:$PATH
Adding that line to the ~/.profile file will add the global-modules directory to your PATH, and enable you to use it for npm global modules.
Now, flip back over to your terminal and run the following command to update the PATH with the newly updated file:
source ~/.profile
Just one more thing...
If you'd like to keep reading about Node.js, npm, configuration options, and development with the Node.js stack, I've got some fantastic articles for you.
Our most recent guide is a deep-dive into the core concepts of the package.json file. You'll find a ton of info about package.json in there, including a ton of super helpful configuration information. We also published an absolute beginner's guide to npm that you may be interested in reading - even though it's a beginner's guide, I'd bet you'll find something useful in it.
With this article, the intent was to help you set up a great configuration for Node.js development. If you'd like to take the leap and ensure that you're always on a rock-solid platform when developing and deploying you Node.js apps, check out NodeSource Certified Modules - it's a new tool we launched last week that will help enable you to spend more time building apps and less time worrying about modules.