How to run `shell` and more using Node.js
Sometimes an application needs more than Node.js to develop and bootstrap itself. Maybe the project needs some automation from a different programming language than JavaScript; even in that scenario, Node.js can run those required tasks; with that, your whole application could be easier to maintain and won’t have a lot of technologies mixed in the same project.
Subprocesses with Node.js
Running subprocesses with Node.js is relatively simple. Node.js has a built-in module with a mature and stable API dedicated to running child processes, called child_process, yeap.
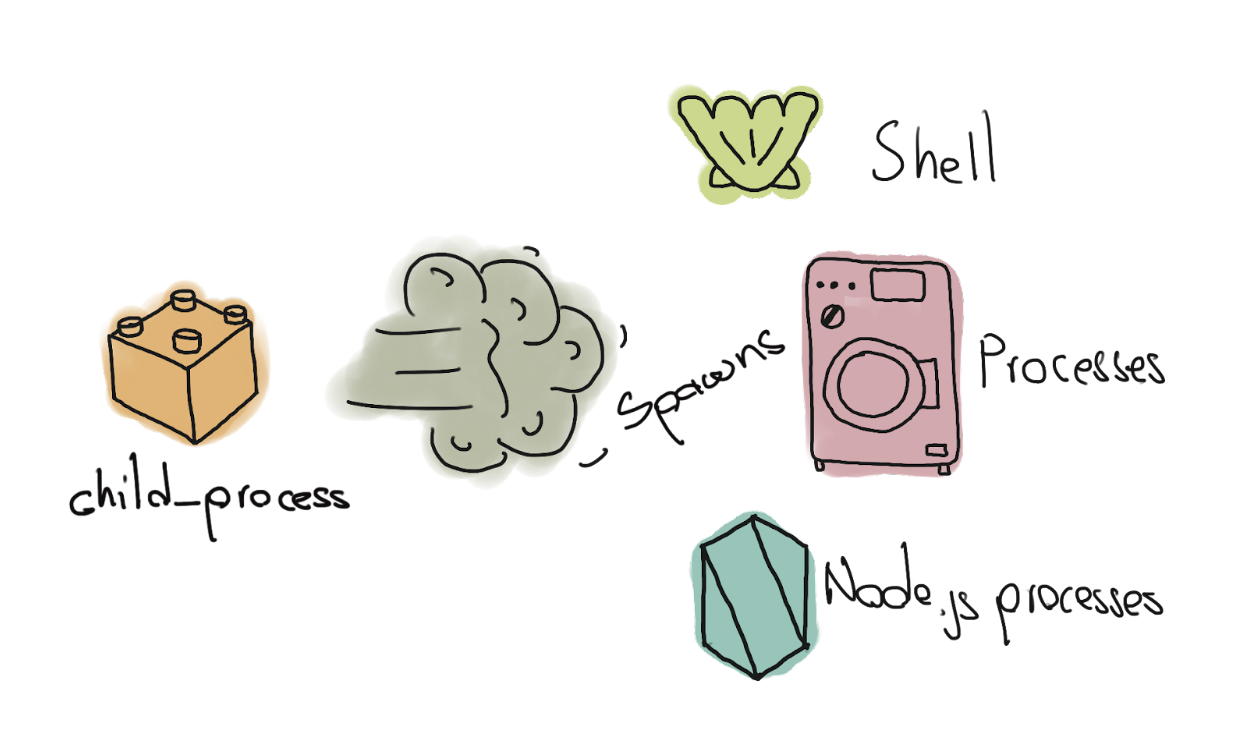
The exec() method from the child_process module will spawn a shell in your machine, and that’s how you run shell commands using node:
const subProcess = require('child_process')
subProcess.exec('ls', (err, stdout, stderr) => {
  if (err) {
    console.error(err)
    process.exit(1)
  } else {
    console.log(`The stdout Buffer from shell: ${stdout.toString()}`)
    console.log(`The stderr Buffer from shell: ${stderr.toString()}`)
  }
})
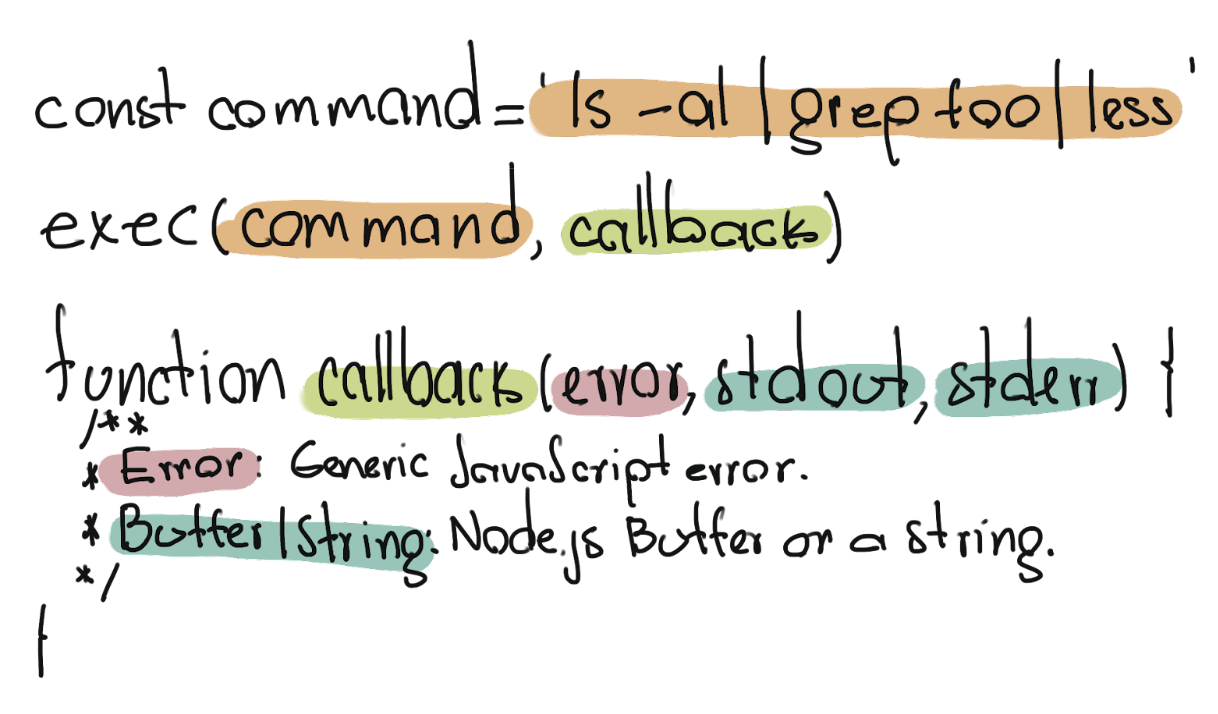
You could even write a bit more “complex” shell commands with it; let’s take a closer look:

Child Process in Node.js
Child process in Node.js is more potent than simply running shell scripts.

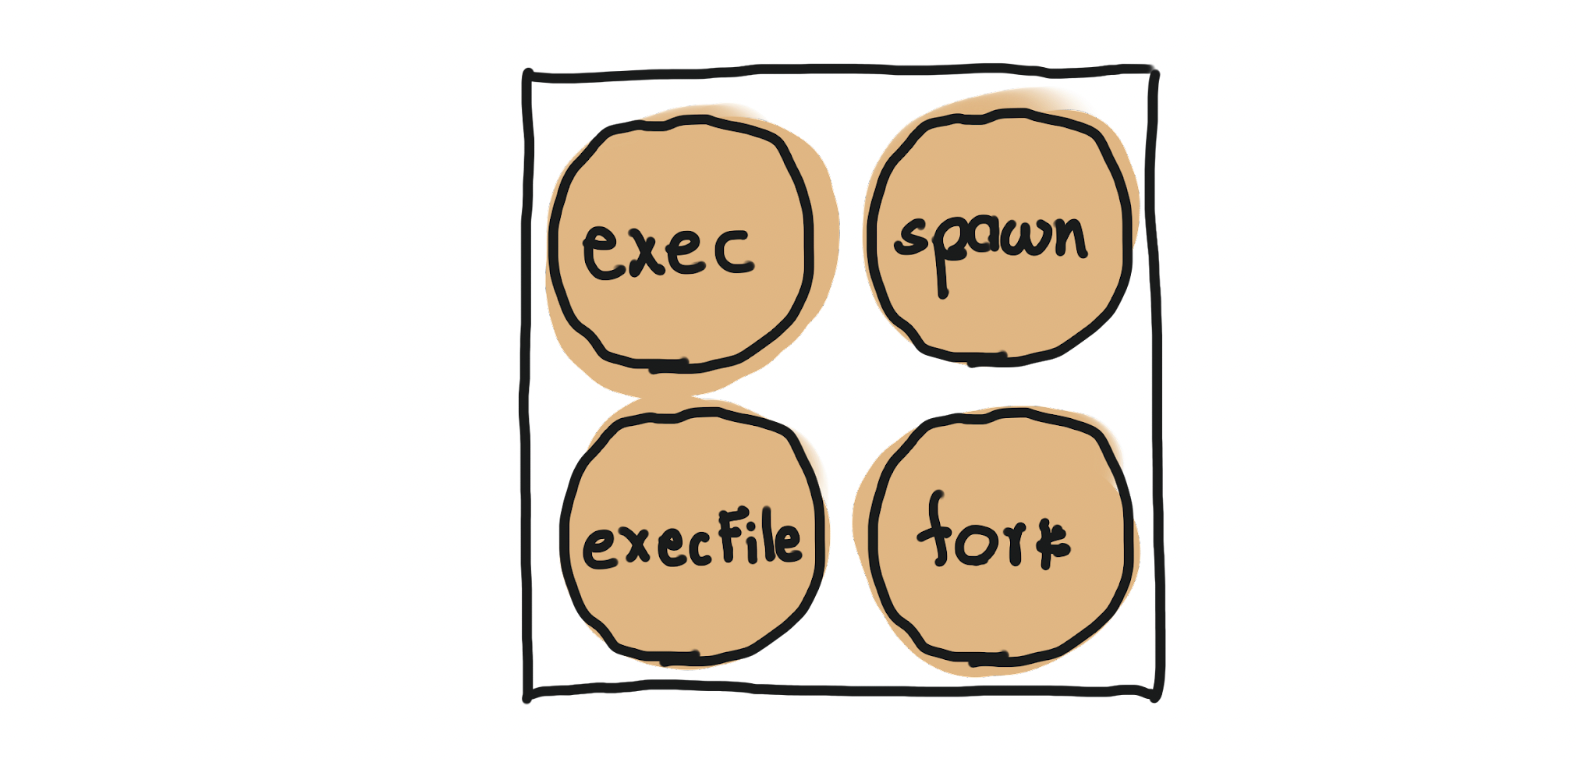
One of my favorite things about this beautiful module is that it is small and powerful, with only four methods. NOTE: These are the async methods, it also includes the sync variants.

In the module representation, there are the four methods, the exec() method already covered, the execFile() method, works exactly the same, but it does not spawns a shell by default, instead, it spawns the executable file provided:
const subProcess = require('child_process')
subProcess.execFile('create-react-app awesome-app', (err, stdout, stderr) => {
  if (err) {
    console.error(err)
    process.exit(1)
  } else {
    console.log(`The stdout from create-react-app: ${stdout.toString()}`)
    console.log(`The stderr from create-react-app: ${stderr.toString()}`)
  }
})
NOTE: The exec() and execFile() methods are designed for small output commands; it buffers the output, a memory-heavy operation. Keep that in mind.
On the other hand, the API has the spawn() and fork() methods, let’s cover spawn first:
const subProcess = require('child_process')
const lsChildProcess = subProcess.spawn('ls', [‘-al’])
lsChildProcess.on(‘exit’, () => console.log(‘the ls command finished’’))
The code above is the equivalent of running ls -al in a shell session; the spawn method won’t buffer the output; this could be a little bit more optimal than exec and execFile methods, anyway, the output stills accessible via streams (you can learn more about streams in my Streams blog-post), let’s see:
const subProcess = require('child_process')
const lsChildProcess = subProcess.spawn('ls', [‘-al’])
lsChildProcess.on(‘exit’, () => console.log(‘the ls command finished’’))
// Let’s get the `ls -al` output
lsChildProcess.stdout.on('data', (data) => {
  console.log(`The stdout from create-react-app: ${data)}`)
})
That’s it for spawn().
The only missing part for this APi is the fork() method, the fork() method is simply a special case of spawn(), it was made for spawning Node.js processes, yes, Node.js can run Node.js itself. The API signature is almost the same as spawn() it looks like this:
const subProcess = require('child_process')
const exampleJs = subProcess.fork(‘example.js’)
exampleJs.on(‘exit’, () => console.log(‘the example.js finished’’))
// Let’s get the `node example.js` output
exampleJs.stdout.on('data', (data) => {
  console.log(`The stdout from create-react-app: ${data)}`)
})
The fork() method was designed for running Node.js modules instead of shell or executables like the rest of the API.
And that’s how the child_process API works; if you have any questions or want to have a deeper understanding of the ChildProcess class, please do not hesitate to reach me on Twitter @soyjuanarbol, and do not forget to cc @nodesource as well. We are happy to help.