Getting Started with the N|Solid Console
A few weeks ago, I wrote a blog post titled Getting started with N|Solid at the command line, which explains how to start using the N|Solid runtime from the command line. Don't know what N|Solid is? It's an enterprise-grade Node.js platform from NodeSource. It also includes some gorgeous Node.js monitoring components running in a web-based console.
The command-line is fun, and crucial, but ... come on ... I know you want that beautiful console too!
N|Solid is designed primarily for deployment platforms, but is built on standard components and will run fine on a standard Mac or Linux development box as well. My development box of choice is a MacBook, and the rest of this blog post will describe how to set up N|Solid so you can use it on a day-to-day basis on a Mac. If you're running Linux, everything but the Monu launcher described below is still appropriate - you'll just want to change the way you launch the N|Solid components. N|Solid is not currently supported on Windows, so if you happen to be running there, you'll want to be running N|Solid in some kind of virtual machine running Linux.
Installing all the N|Solid components
I've created a sample bash script called nsolid-install.sh, which does the following:
- downloads all the N|Solid components to the directory
~/Downloads - installs all the N|Solid components in the directory
~/nsolid
It will run fine on Mac and Linux.
The link above, to nsolid-install.sh, is a GitHub gist. From that page, click the "Raw" button to display just the text of the script, then copy that text, and paste into a new file on your computer, called nsolid-install.sh. From a terminal window, run the script:
$ bash path/to/nsolid-install.sh
You'll see the following:
downloading N|Solid to /Users/{yourUserid}/Downloads
installing  N|Solid in /Users/{yourUserid}/nsolid

downloading N|Solid Runtime v1.0.2
################################################ 100.0%
downloading N|Solid Console v1.1.8
################################################ 100.0%
downloading N|Solid Proxy v3.2.2
################################################ 100.0%
downloading etcd v2.2.0
################################################ 100.0%

unpacking tarballs
writing launch-etcd.sh
writing launch-nsolid-console.sh
writing launch-proxy.sh
This installs the following components:
-
the N|Solid Runtime - a fully compatible Node.js 4.x runtime, in the
~/nsoliddirectory. The~/nsolid/bindirectory holds the usual Node.js runtime bits -nodeandnpm- and also include annsolidbinary (nodeis linked to this) and annsolid-clibinary, which I talked about in my previous blog post. -
the N|Solid Console - the web-based GUI monitor for your applications running in N|Solid
-
the N|Solid Proxy - the centralized gateway for all your N|Solid applications being monitored
-
etcd- the CoreOS key-value store for shared configuration and service discovery
Running all the N|Solid components
A number of bash launch scripts are also installed in the ~/nsolid directory:
launch-nsolid-console.sh- launches the N|Solid Console with default parameterslaunch-nsolid-proxy.sh- launches the N|Solid Proxy with default parameterslaunch-etcd.sh- launchesetcdwith default parameters
These scripts will run the indicated component in the current process. You should arrange to run each of these scripts - or the commands embedded in them - simultaneously, when running the N|Solid console. You can do this by opening three terminal windows and running each script.
On my MacBook, the easiest way I've found to run these in an automated fashion, is with Max Ogden's wonderful process monitoring menu bar application, Monu. The following config.json file, which you can edit from Monu's Open Config Folder, will set up launches for these components:
{
  "logs": "./logs",
  "pids": "./pids",

  "processes": {
    "nsolid-proxy":   "~/nsolid/launch-nsolid-proxy.sh",
    "nsolid-console": "~/nsolid/launch-nsolid-console.sh",
    "etcd":           "~/nsolid/launch-etcd.sh"
  }
}
After you've added the processes above, you can easily start and stop the N|Solid components right from Monu. And check the logs!
Technically, here's what these programs are doing:
-
N|Solid Console - a web server running on port 3000 (default), which polls the N|Solid Proxy for information about N|Solid processes
-
N|Solid Proxy - a server running on port 9000 (default) which polls the etcd server for registered N|Solid processes, and then sends commands to them to obtain information about the process
-
etcd - an etcd server running on port 4001 (default) which N|Solid processes register themselves with, so they can be found by the N|Solid Proxy
Monitoring an N|Solid process
Once you get these programs running, you can then run an application with N|Solid to have it show up in the console. Let's run a Node.js REPL, by running the following command in a terminal:
$ NSOLID_HUB=4001 NSOLID_APPNAME=repl ~/nsolid/bin/nsolid
This command sets the environment variables NOLID_HUB and NSOLID_APPNAME to appropriate values, and then runs ~/nsolid/bin/nsolid, which just runs the standard Node.js REPL, waiting for you to run Node.js statements. NOLID_HUB should be the host/port associated with your etcd server, and NSOLID_APPNAME is the name your app will be known by in the N|Solid Console.
Enter process.versions.nsolid at the REPL prompt to print the current version of the N|Solid Runtime:
> process.versions.nsolid
'1.0.2'
>
Yeah, that's boring, but let's switch over to the N|Solid Console, running at http://localhost:3000:
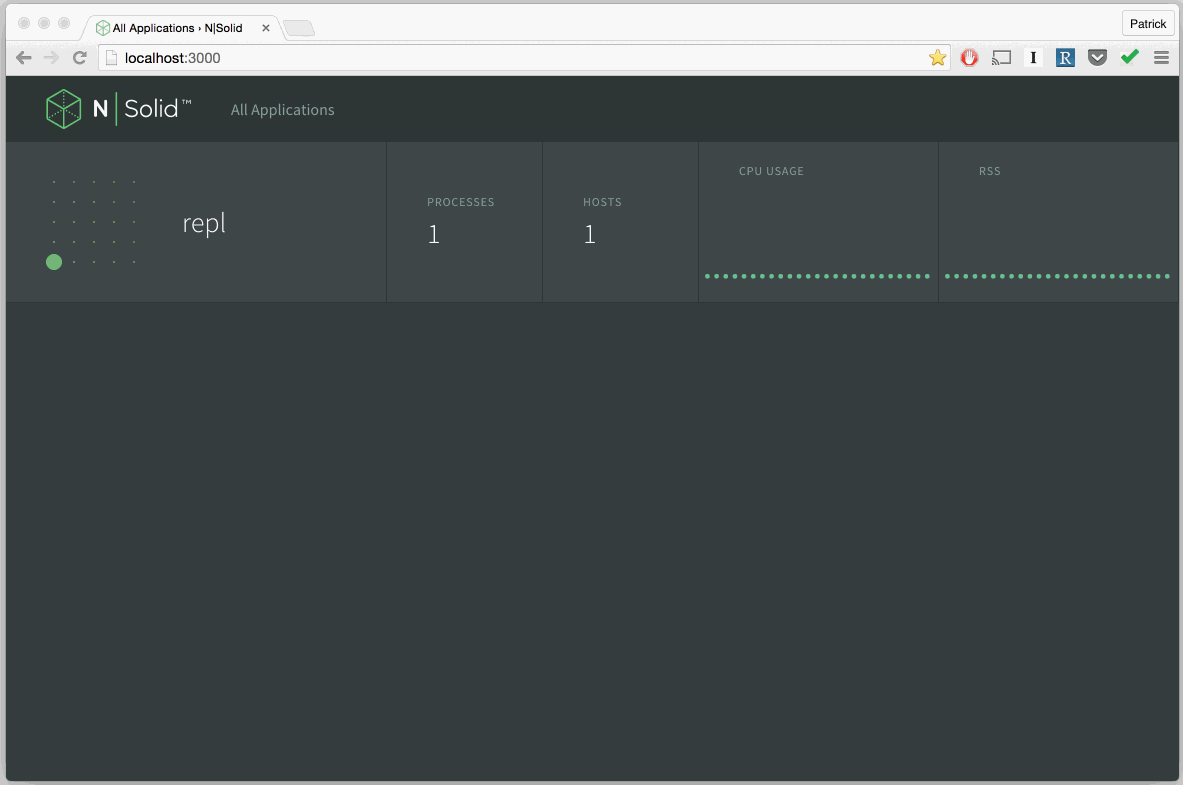
Ooooh. Our REPL is showing up in the N|Solid Console! Still, there's not much going on here, so let's run something more interesting. Go back to the REPL and press Ctrl-C twice to exit back to the command line.
Here's a more interesting program: clustery.js.
This Node.js program uses the cluster module to launch a number of worker processes. The "master" process and all the "worker" processes can be monitored in the N|Solid Console, by running it via:
$ NSOLID_HUB=4001 NSOLID_APPNAME=clustery ~/nsolid/bin/nsolid clustery.js
The program itself doesn't do much, besides consume CPU on your machine. After running this demo, you'll want to Ctrl-C to kill to program, and stop your CPU fans from impersonating helicopters.
Interacting with the N|Solid Console
Once the program has been launched, switching to the N|Solid Console at http://localhost:3000 , you'll see something like following:
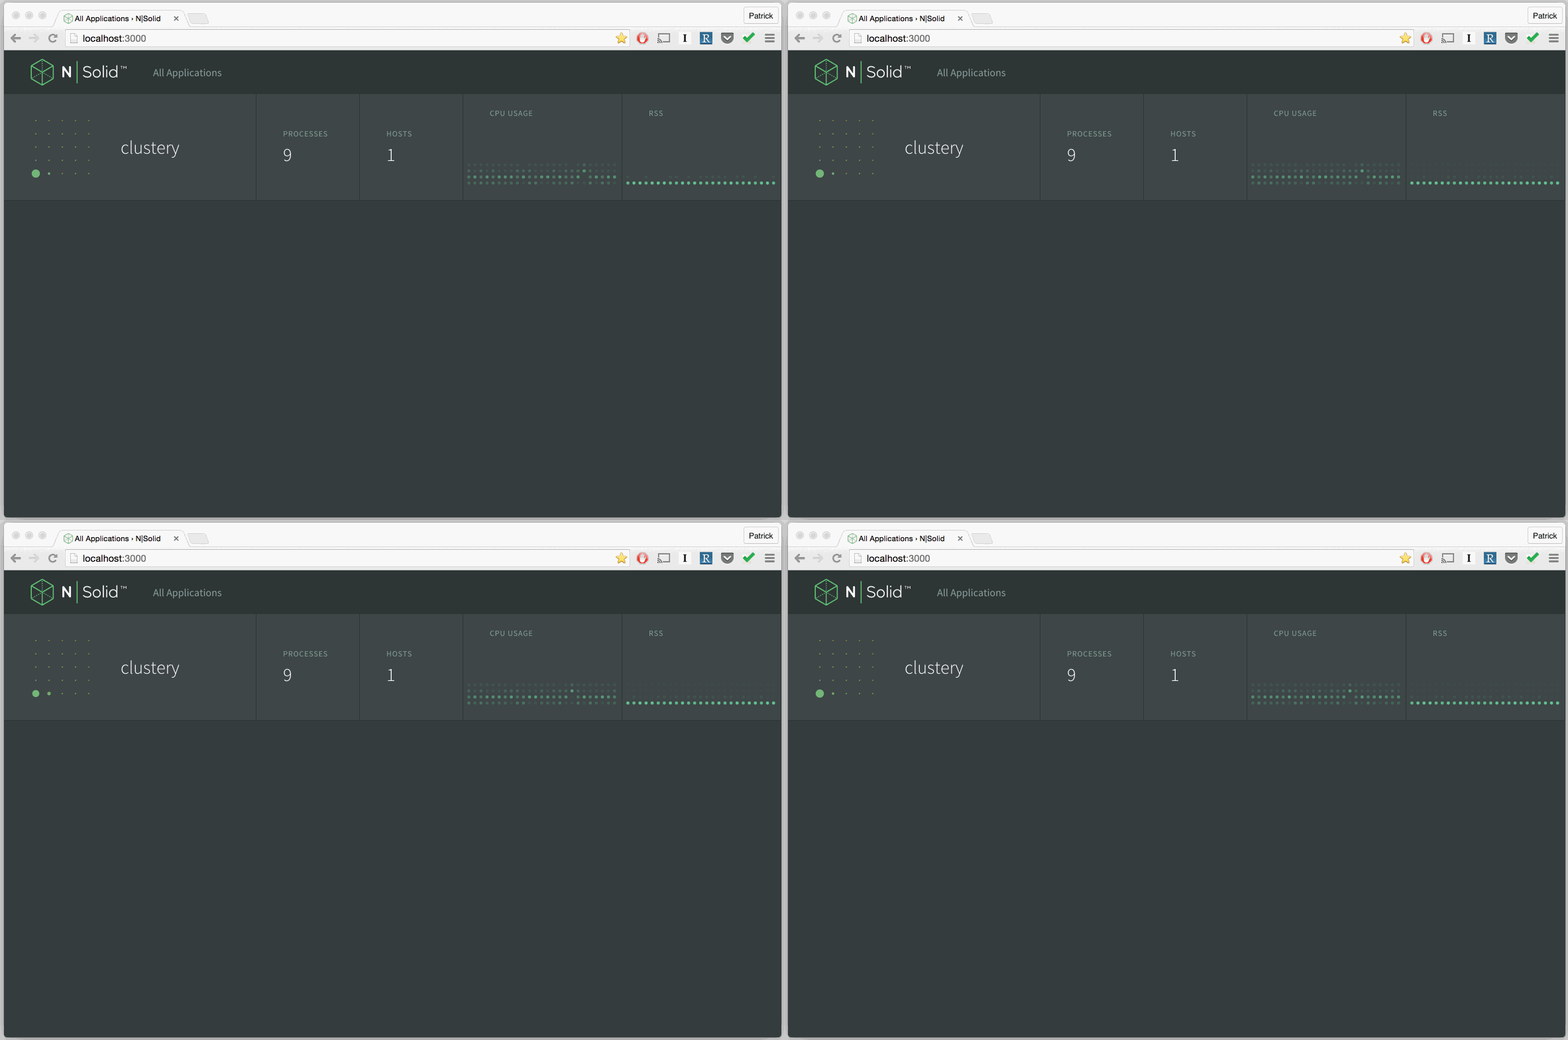
This is showing that we have 9 instances of the clustery app running, and you will see some CPU activity and memory activity in the graphs on the right hand side of the display.
Now let's click on the "clustery" row, to get more information on the processes:
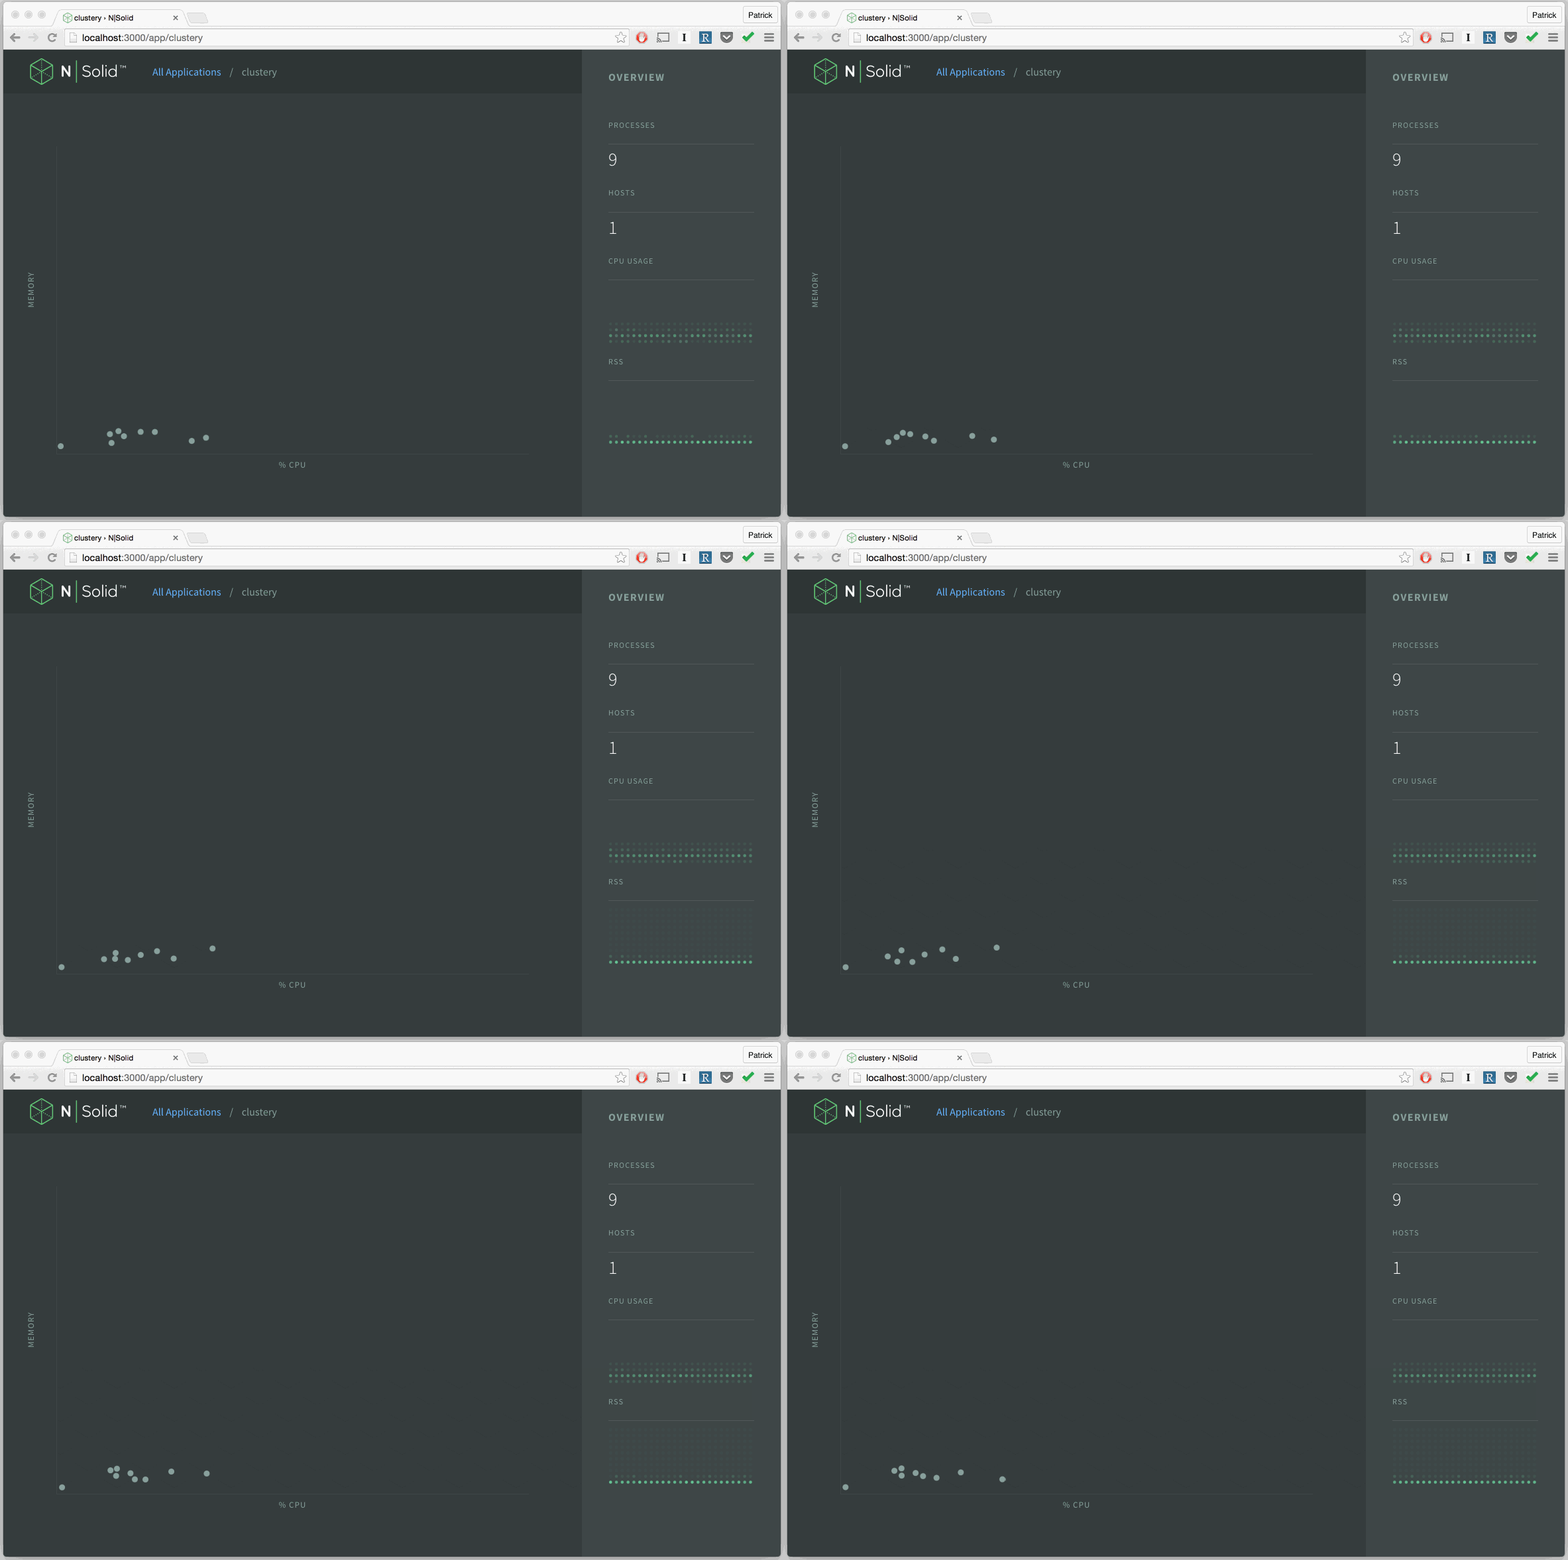
Each of those moving "dots" is an instance of the clustery program - one for the "master" and one for each "worker" - clustery creates a worker for each CPU on your box - in my case, 8 workers.
The "dots" are displayed in a graph where the x-axis indicates CPU usage, and the y-axis indicates memory usage. In this case, the processes are only CPU intensive, and don't consume much memory. But they consume a lot of CPU. The dot furthest to the right is probably the first worker process (can you figure out why?).
Click on that right-most dot to get more details on it, and you'll see some additional detail on that process:
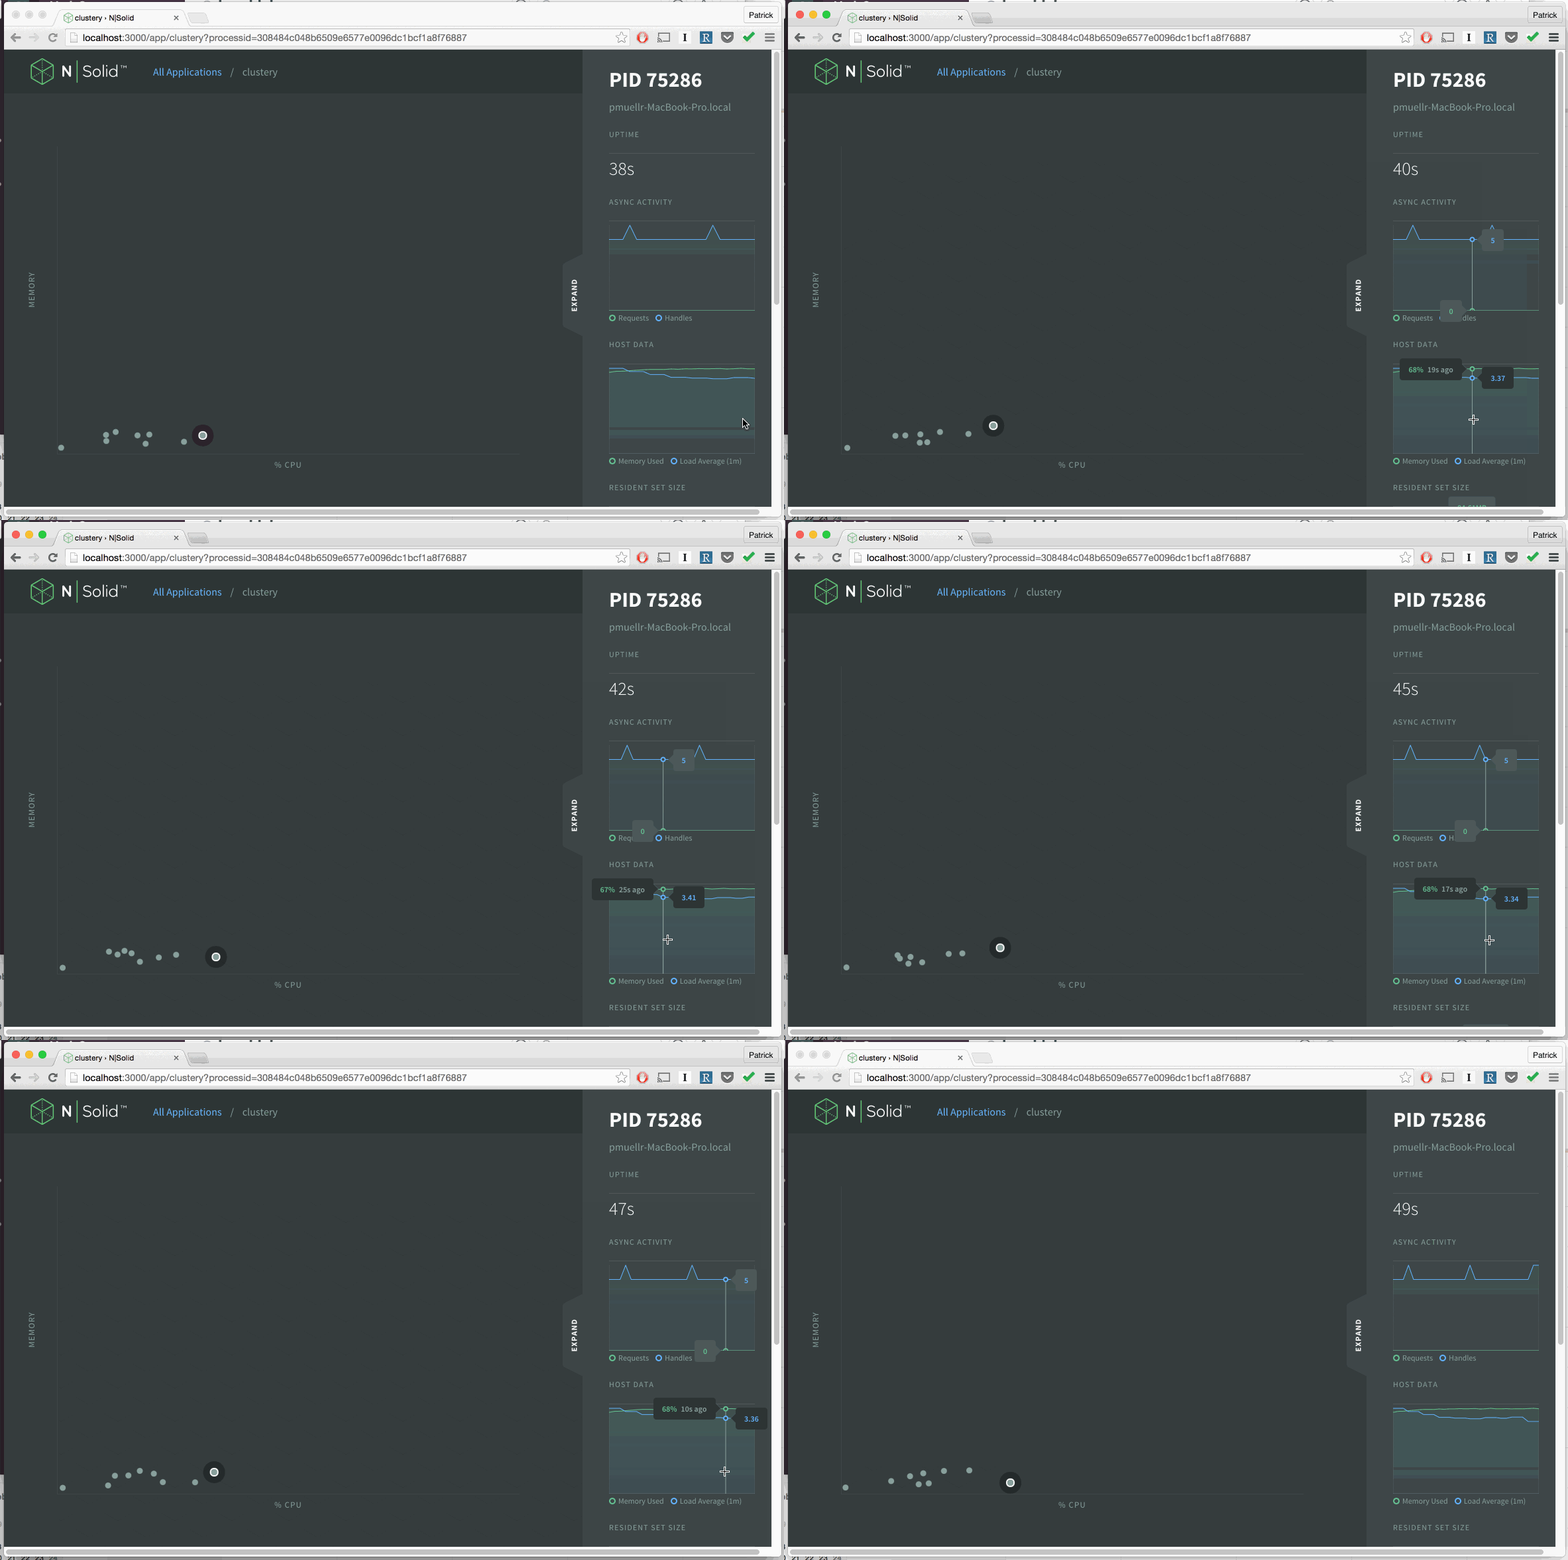
In the right of the console you'll see the following information about the process:
- the process id (aka "pid")
- the host the process is running on
- how long the process has been running (uptime)
- graphs of ongoing asynchronous activity
- graphs of ongoing memory usage and load average
For more information on this view, see the docs on the N|Solid Console Cluster View.
You can click on the "EXPAND" tab to get more information:
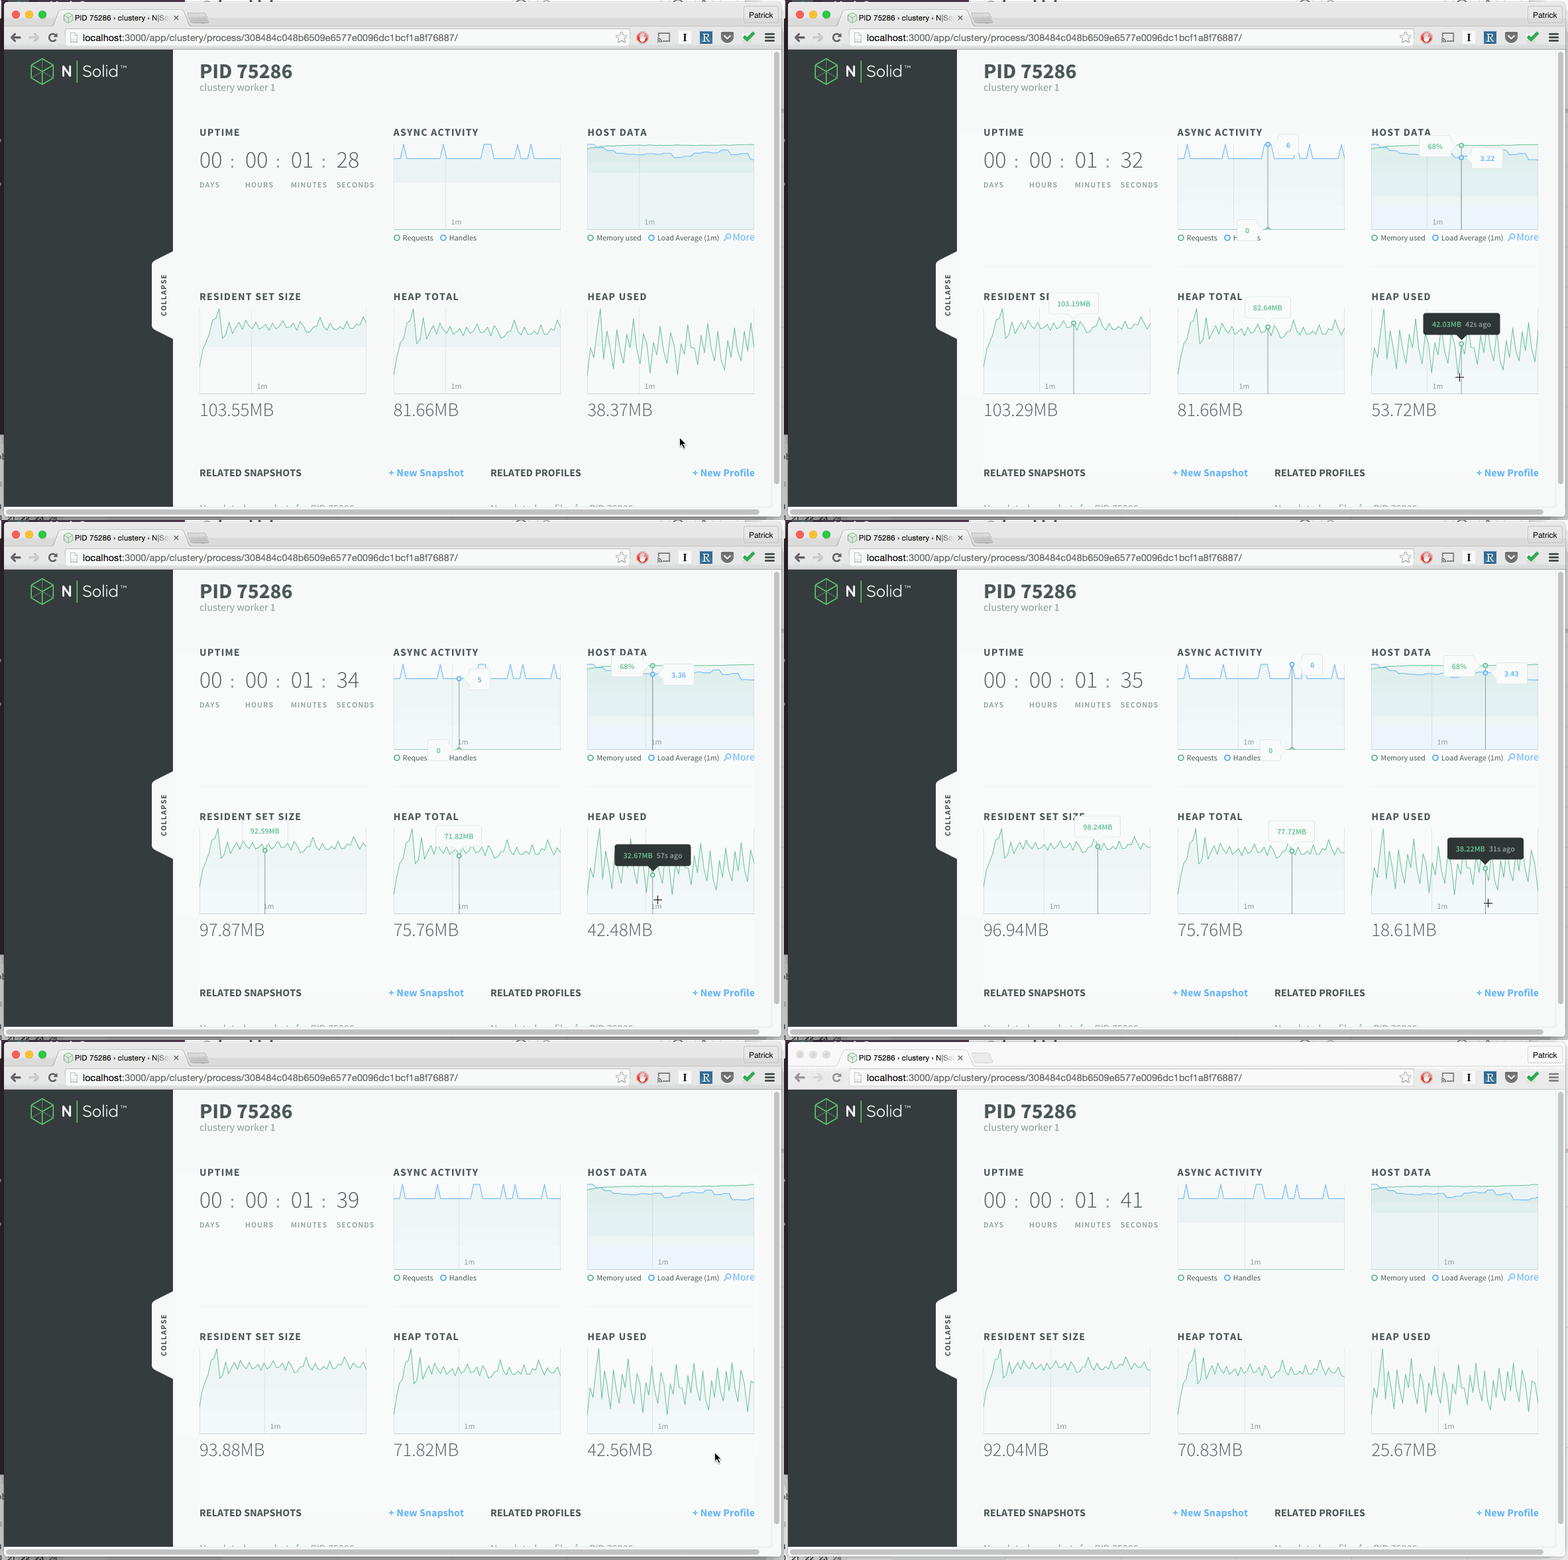
For more information on this view, see the docs on the N|Solid Console Process View.
From here, you can generate a CPU Profile or Heap Snaphot by clicking the respective buttons. More on those later.
Check out the N|Solid Console for yourself. Free for development. downloads.nodesource.com