Deploying NodeSource N|Solid on AWS with Just One Click
Setting up and running NodeSource N|Solid is a straightforward process. We have worked hard to make it easy for our customers to run N|Solid in their environment, whatever that environment may be.
We're happy to say that N|Solid is now available in the AWS Marketplace, which makes it simple to use N|Solid in your existing AWS infrastructure.
This post will walk you through setting up N|Solid using the AMIs available on the AWS Marketplace. We'll cover the options available when launching the instances and what it takes to get your application configured.
The N|Solid Architecture
Before we jump into launching the N|Solid AWS Marketplace AMIs, we'll first review the N|Solid architecture and the services we'll be using.
The N|Solid Runtime
The N|Solid Runtime is a drop-in replacement for Node.js. There are no code changes needed in your application to be able to use it.
N|Solid extends Node.js to provide enhanced security and performance insight. It is built on the Long Term Support (LTS) version Node.js, which provides the level of stability that businesses rely on.
The N|Solid Runtime Argon (v4 LTS) - Ubuntu AMI will be used for the EC2 instances that will run your Node.js application. The AMI uses Ubuntu 16.04 as the operating system.
The N|Solid Console
The N|Solid Console provides the visualization of your application's instances and also serves as the data collector for the performance metrics gathered by the N|Solid Runtime.
When running up to several hundred N|Solid Runtime instances, you can typically use a single N|Solid Console instance in your environment. If you are looking to run a large number of N|Solid Runtime instances, you can contat our support team, and we can help you architect your N|Solid deployment for maximum performance.
The N|Solid Console AMI is pre-configured to quickly get you up and running in just one click, with zero hassle.
Launching the N|Solid Console
Now that we have a basic understanding of the N|Solid components, we're ready to launch the N|Solid Console.
From the N|Solid Console Marketplace page, we see the details about the N|Solid Console, and launch a new instance of it.
Using the 1-Click Launch, you can quickly configure the details for the new instance. Be sure to review the settings to ensure you are launching the N|Solid Console into the correct region and VPC, and SSH key. We also provide a default security group for using the N|Solid Console. We'll cover considerations for making that more secure later in this post.
The N|Solid Console comes with nginx installed as a reverse proxy and to provide user access.
Once the settings have been reviewed, we're ready to launch the instance.
Accessing the N|Solid Console
After the N|Solid Console instance has finished initializing, we'll want to go into the EC2 Console and find our new instance's Public DNS. To connect to the N|Solid Console, open the Public DNS in a web browser. You will be prompted for a username: nsolid and a password: nodesource. We'll cover how to change the username and password later in this post.
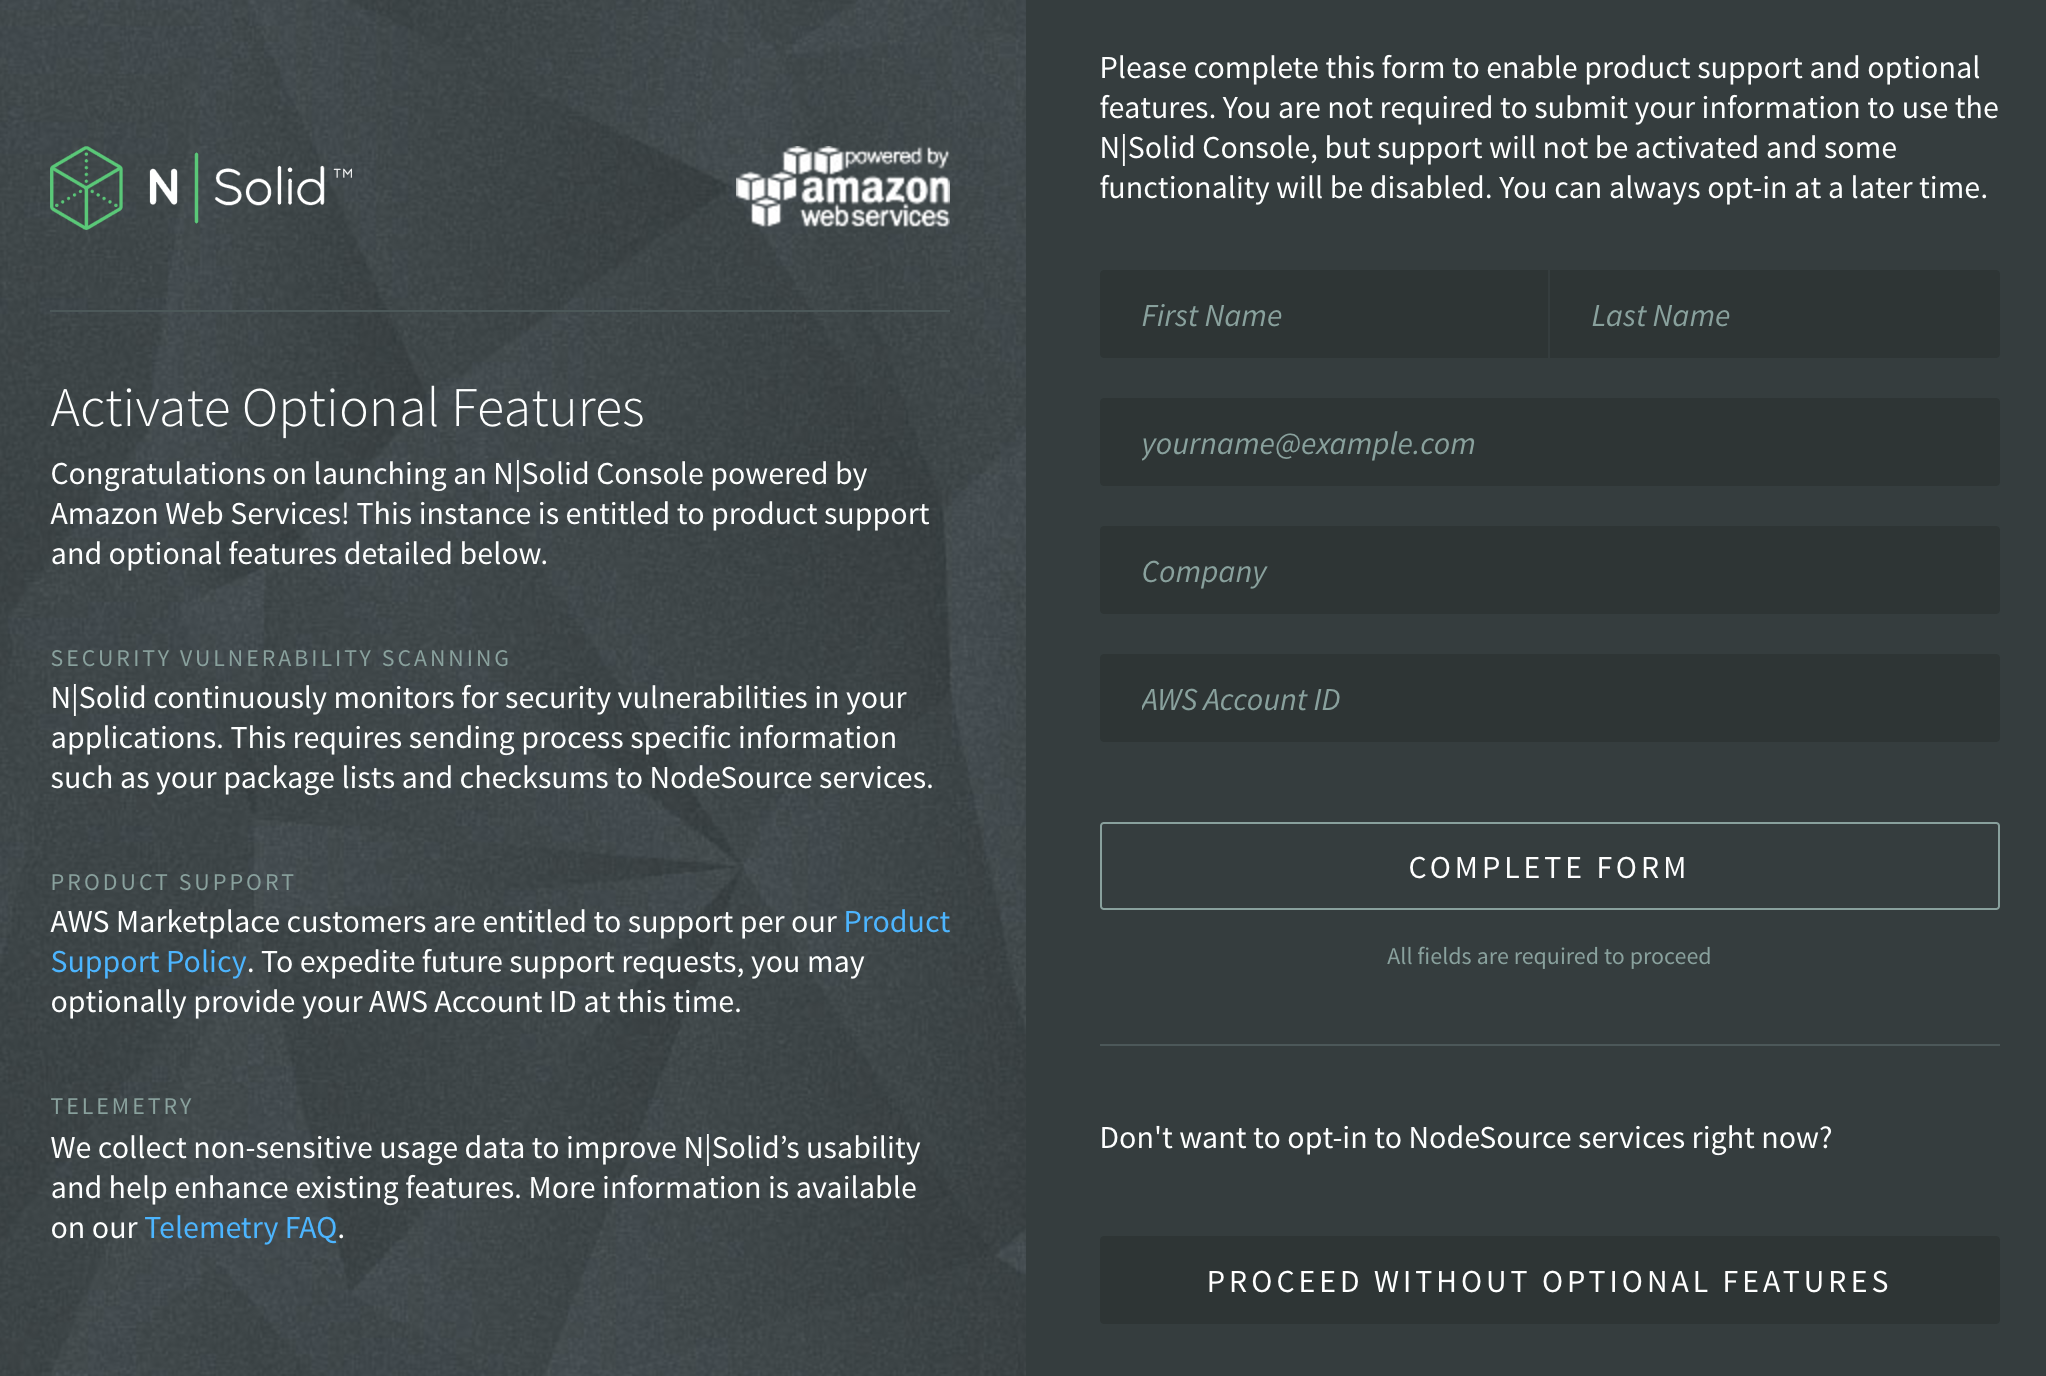
Once you have logged in you will see the Getting Start page where you can register to enable all of the N|Solid features, such as the scanning for security vulnerabilities in the modules used in your application.

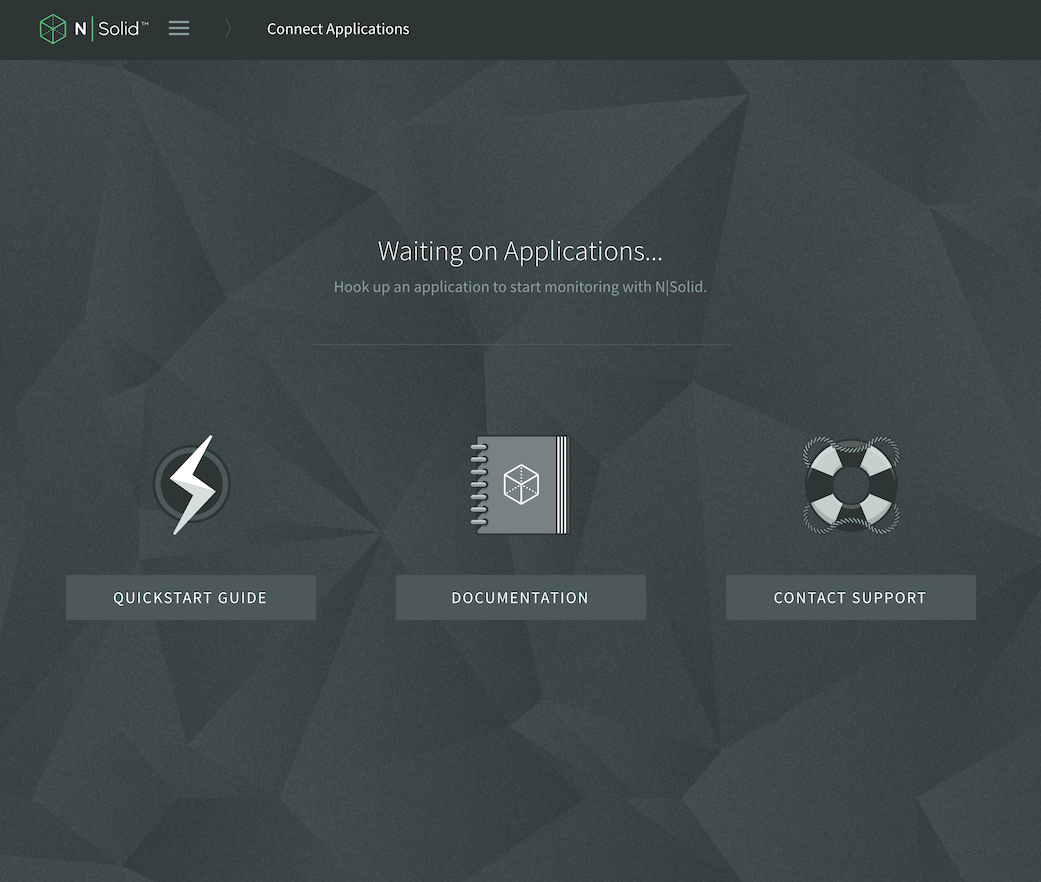
The next screen is the Application List. Once we launch our application using the N|Solid runtime, it will appear here.

Launching Your Application with the N|Solid
As we mentioned above, the N|Solid Runtime is a drop-in replacement for Node.js. That means you can run your application with N|Solid the same way as you would with open-source Node.js. We provide the N|Solid Runtime AMI make the process of getting started even easier. You can use this AMI in your normal AWS deployment workflow.
About the N|Solid Runtime AMI
The AMI is built upon Ubuntu 16.04 and has N|Solid Runtime installed. Additionally, all of the typical dependencies needed for for running Node.js applications have been installed, including npm and the build tools to compile and run native Node.js modules.
You can SSH into a running instance as the user ubuntu with the SSH key chosen when launching the instance.
Starting Your Application
After deploying your application to your instance, you need to configure the N|Solid Runtime to point to the N|Solid Console instance. This is done through the following environment variables:
NSOLID_COMMAND=<NSOLID_CONSOLE_IP>:9001

NSOLID_DATA=<NSOLID_CONSOLE_IP>:9002

NSOLID_BULK=<NSOLID_CONSOLE_IP>:9003
These three environment variables tell the N|Solid Runtime where our console is. Simply replace the <NSOLID_CONSOLE_IP> in each with the Public DNS or the IP address of your N|Solid Console instance.
We can also control the name of the application as it is listed inside the N|Solid Console. By default, the name field inside your package.json will be used. To override that, or specify a name if there isn't one in your package.json, set the NSOLID_APPNAME environment variable. You application instances will be grouped by application name inside the N|Solid Console.
NSOLID_APPNAME="My Application"
These environment variables can be set in your application's startup script, or you can run it manually like the example below.
NSOLID_COMMAND=10.0.256.1:9001 \

NSOLID_DATA=10.0.256.1:9002 \

NSOLID_BULK=10.0.256.1:9003 \

NSOLID_APPNAME="My Application" node app.js
Once your application is launched, you will see it appear in the N|Solid Console.
N|Solid Tags
An additional way to help filter your application's processes inside of the N|Solid Console is through the use of tags. Tags can be selected inside the process view of your application.
Much like EC2 Tags, they can provide metadata about the process which can help in identifying sets of processes. They are set via the NSOLID_TAGS variable as a list of comma separated values.
NSOLID_TAGS="us-east-1,role:login"
Managing the N|Solid Console
The N|Solid Console will generally not need much work to keep running. The N|Solid Console instance has three main services that need to be running:
- Nginx:
/etc/init.d/nginx - N|Solid Console:
/etc/init.d/nsolid-console - N|Solid Storage:
/etc/init.d/nsolid-storage
They can be controlled using the standard Ubuntu service management commands.
To restart the services, you can use the restart service management command:
sudo systemctl restart nsolid-console
For further inpsection, the status of each service can also be seen with the status service management command:
sudo systemctl status nsolid-console
The configurations for Nginx, N|Solid Storage, and N|Solid Storage's artifacts can be found in the following locations:
- Nginx configuration:
/etc/nginx/sites-enabled/nsolid-nginx.conf - N|Solid Storage configuration:
/etc/nsolid/storage-config.toml - N|Solid Storage Artifacts:
/var/lib/nsolid/storage
Typically these files and locations will not need to be changed.
Securing the N|Solid Console
The N|Solid Console comes with a base level of security that makes it easy to get up and running. If you expose the N|Solid Console to the Internet, you'll want to make a few changes to improve the security.
Changing the default username and password
The N|Solid Console uses nginx to handle basic authentication. The password file is located at /etc/nginx/nshtpasswd and is populated with the default nsolid user. Our recommendation is to replace the nsolid user with your own users. Here are the steps to do that.
First we need to install the htpasswd utility.
sudo apt-get update

sudo apt-get install apache2-utils
Once installed, we can replace the nsolid user with the following command. Be sure to replace {user} with the username you would like to use.
sudo htpasswd -c /etc/nginx/nshtpasswd {user}
You will be prompted to enter a new password password twice, then the file will be updated with the new password.
To add additional users, you can run the same command, but leave off the -c flag.
sudo htpasswd /etc/nginx/nshtpasswd {second_user}
The changes are instant and nginx does not need to be restarted.
Enabling SSL
If you are going to expose the N|Solid Console to the Internet, you should enable SSL and disable normal HTTP. You can use any certificate that matches the DNS name you will be using for N|Solid.
It is also possible to use Let's Encrypt for free SSL certificates.
Here are the steps you'll need to do to enable SSL:
-
Create a DNS entry for the N|Solid Console on a domain you own, that points to the N|Solid Console server.
-
Create an SSL certificate and configure
nginxto use it. -
Change the EC2 Security Group to remove HTTP port 80 and add HTTPS port 443.
These steps may vary depending on how your infrastructure is set up, so we won't walk through them here. NodeSource Support can help you configure SSL if you run into issues.
Restricting N|Solid Ports
The default security group opens ports 9001, 9002, and 9003 and makes them accessible to the Internet. If all of your application instances are running in AWS, then you will want to restrict those ports to the instances which are running the N|Solid Runtime.
The best approach can vary depending on your use of VPCs or EC2 Classic instances. Often times instances inside a VPC can openly communicate with other instances in the same VPC. In that scenario, you would be able to just remove those three ports from the security policy.
NodeSource Support can help you determine the best way to securely configure your instances if you run into issues.
Wrapping Up
With N|Solid available in the AWS Marketplace, it's easier than ever to use N|Solid to run your Node.js applications to get performance insight, improved security, and enhanced debugging.