Deploying Node.js microservices to ZEIT ▲ Now
ZEIT Now is a cloud platform to deploy serverless applications, one of the things I like the most about Now is their DX (Developer Experience), it makes it very pleasant to deploy microservices to the cloud.
In this article we are going to learn how to install Now and start deploying with one single command, now.
Prerequisites
- Node.js 10 LTS Installed
- A terminal
- Code editor of your choice
- A ZEIT Now account, you can signup for free here
Installation
First, let's install now CLI from npm by running the following command:
$ npm install -g now
Login
Next, we need to identify ourselves in the platform, now CLI offers an easy way to do this by running:
$ now login
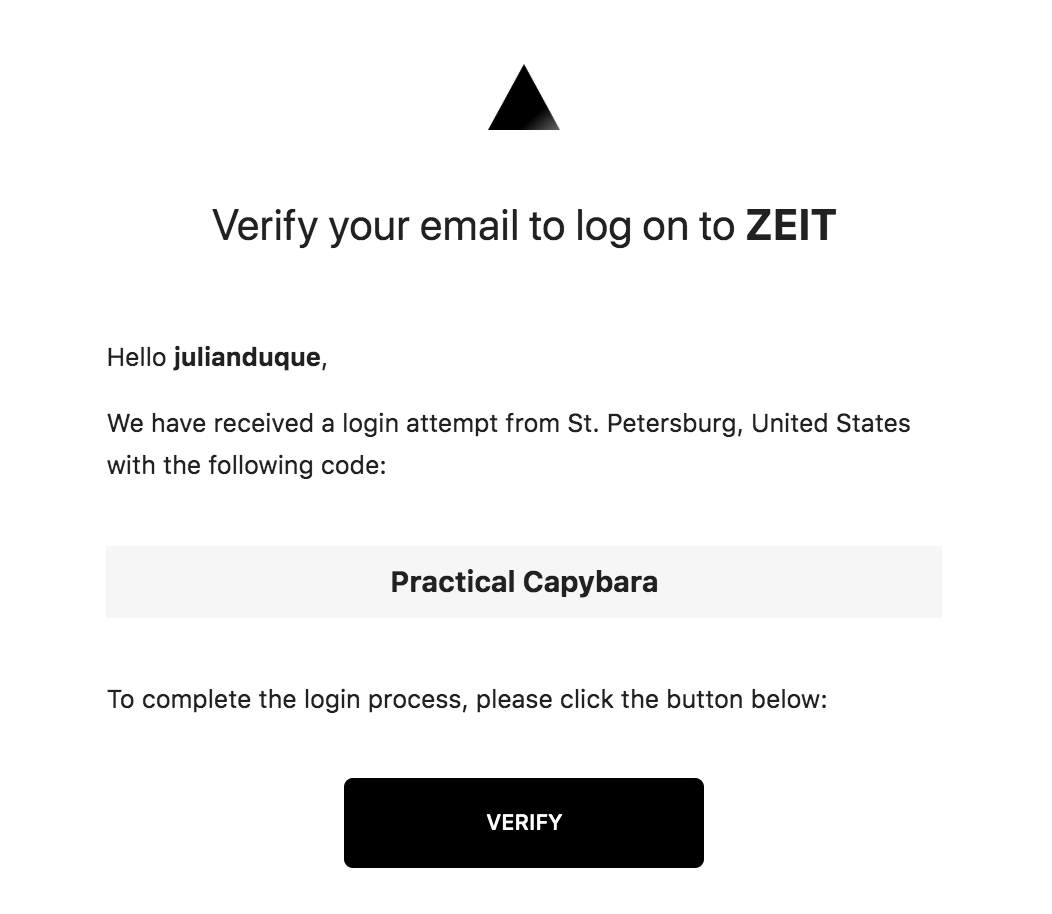
This will ask for your email and will send you a Verification email, just by clicking on Verify will log you in the platform, it's like magic 🔮!
Before continuing with our next trick, let's explore the files we are deploying:
index.js
It contains a simple function with the request and response objects from Node.js, this will be executed on every request made to our microservice.
module.exports = (req, res) => {
  res.end(`Hello from Node.js on Now 2.0!`);
};
We have our frontend application almost ready, we will need to add an API to our monorepo project, let's create an api folder and add a Node.js microservice in there (no need to create the now.json, we will take care of that later).
Let's create a bands microservice:
$ mkdir api
$ touch api/bands.js
api/bands.js
module.exports = (req, res) => {
  const bands = [
    {
      name: 'Dio',
      genre: 'Heavy Metal'
    },
    {
      name: 'Anthrax',
      genre: 'Trash Metal'
    },
    {
      name: 'Tenebrarum',
      genre: 'Gothic Metal'
    }
  ]
  res.end(JSON.stringify(bands))
}
yes, I like Metal 🤘 Let's create a Deployment Configuration file to wire up our two project in the monorepo.
now.json
{
  "version": 2,
  "name": "monorepo",
  "builds": [
    { "src": "www/package.json", "use": "@now/static-build" },
    { "src": "api/*.js", "use": "@now/node" }
  ],
  "routes": [
    { "src": "/api/(.*)", "dest": "/api/$1" },
    { "src": "/(.*)", "dest": "/www/$1" }
  ]
}
More information about how routes work in their documentation.
Here we are creating both the API and the Web project in one single repo using two different serverless applications, one served by @now/node and the other built by @now/static-build.
Before deploying let's add the following to our www project:
- Add a
now-buildscript to thepackage.jsonfile as following:
"now-build": "API_URL=https://monorepo.julianduque.now.sh npm run generate"
This will setup Axios to discover our API endpoint in the proper URL (make sure to use your alias here), and will tell now how to generate a static site for Nuxt.
- Let's update our
pages/index.vuepage to execute the Bands microservice we implemented with Node.js
export default {
  components: {
    Logo
  },
  data: function () {
    return {
      bands: []
    }
  },
  methods: {
    async loadBands () {
      try {
        this.bands = await this.$axios.$get('/api/bands.js')
      } catch (err) {
        console.error(err)
      }
    }
  }
}
- Add a Button to the
<template>and render the items with Vue.js
<a v-on:click="loadBands">Load Bands</a>
<ul v-bind:key="band.name" v-for="band in bands">
  <li>{{ band.name }} - {{ band.genre }}</li>
</ul>
And voila! We have connected our two serverless applications in one monorepo with Now!

I hope you liked this tutorial and if you speak Spanish let me invite you to my semi-weekly Node.js show on Twitch - Node.js ¡En Vivo! 💜
This post was firs published in dev.to